Introduction
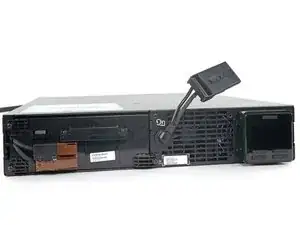
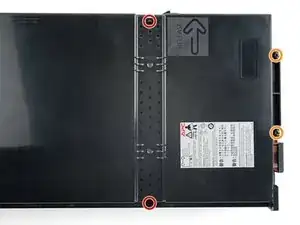
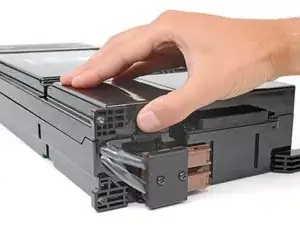
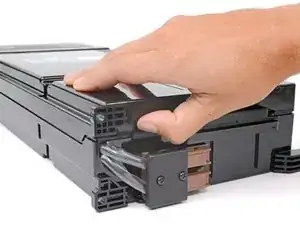
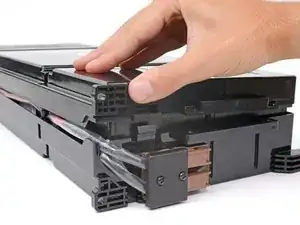
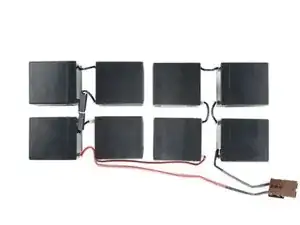
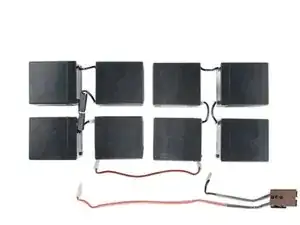
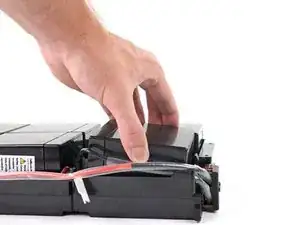
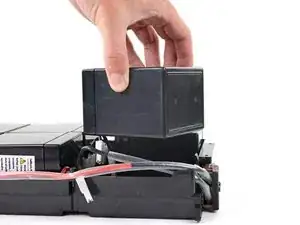
Use this guide to test and replace the individual battery cells in your APC uninterruptible power supply model SRT30000XLA.
Tools
-
-
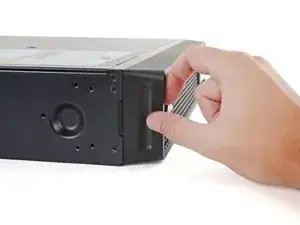
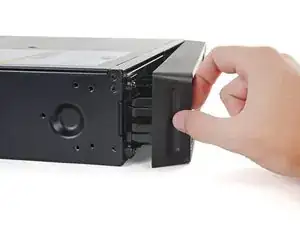
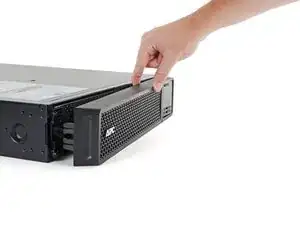
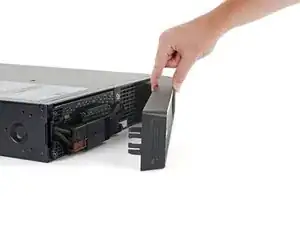
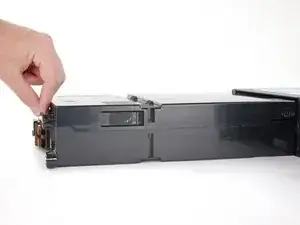
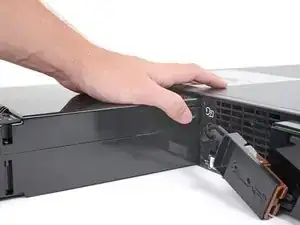
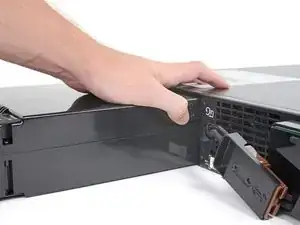
Continue pulling the left edge of the front bezel away from the device until the right clip releases.
-
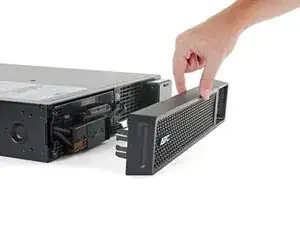
Remove the front bezel.
-
-
-
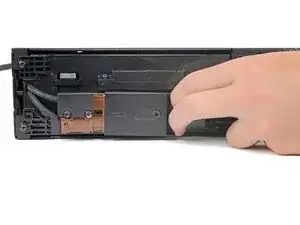
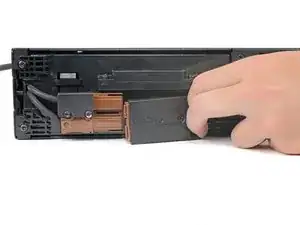
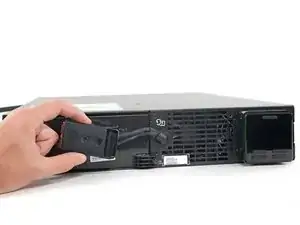
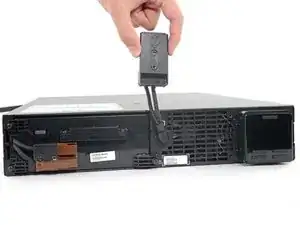
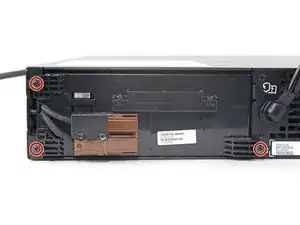
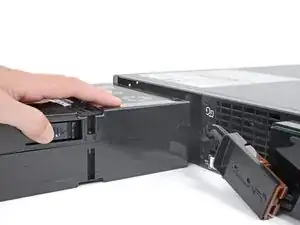
Use the cutout in the battery connector to pull it toward the right edge of the device and disconnect it.
-
-
-
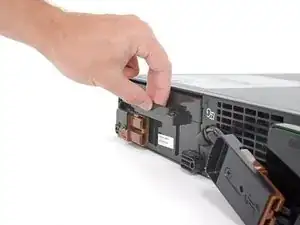
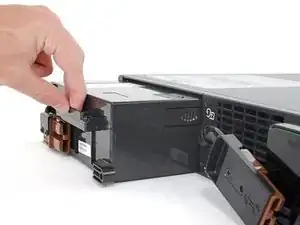
Continue pulling the battery assembly out of the housing until it stops at its second plastic tab.
-
-
-
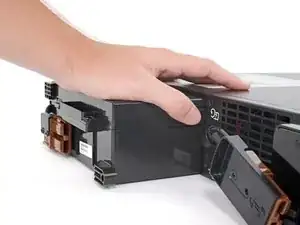
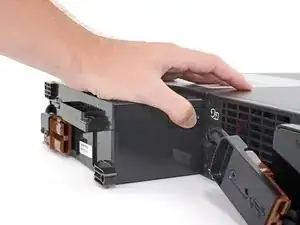
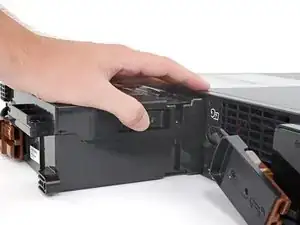
Depress the plastic tab while pulling on the battery assembly until it’s free from the housing.
-
-
-
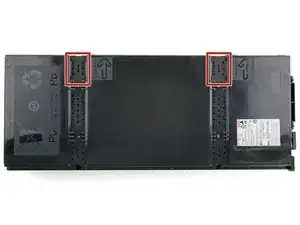
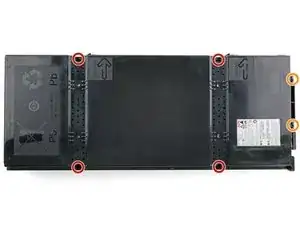
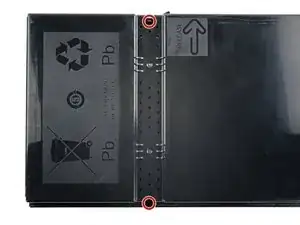
Use a Triangle 3 driver to remove the six screws securing the battery assembly's top shell:
-
Four 22.7 mm-long screws
-
Two 15 mm-long screws.
-
-
-
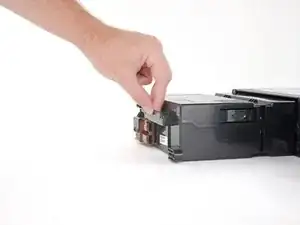
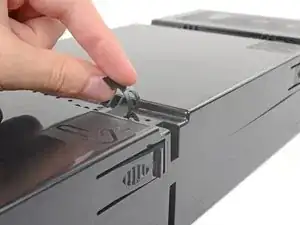
Depress the plastic tab above the battery connector and lift up the top shell to release the clip.
-
-
-
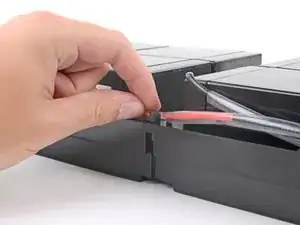
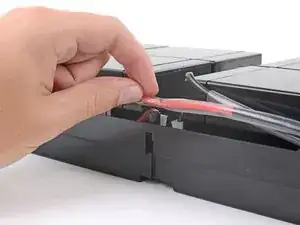
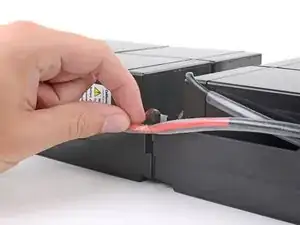
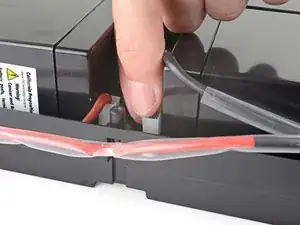
Lift the light red wire out of its spot next to the screw post to access the connector beneath.
-
-
-
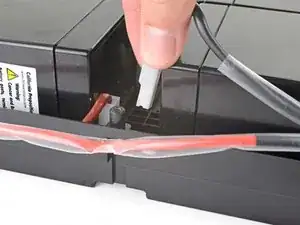
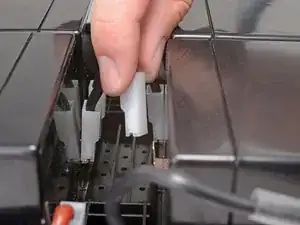
Grip the white spade connector and pull up to disconnect it from the negative terminal of the battery cell.
-
-
-
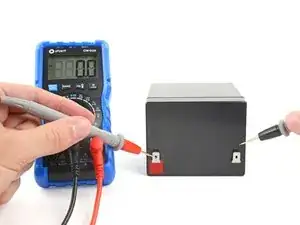
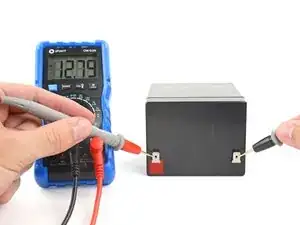
Follow this guide to use a multimeter and measure voltage using these parameters:
-
If your battery cell's voltage is less than 10 V, replace it.
-
Charge the entire battery assembly to 100% and test the cell again. If your battery is less than 12 V, replace it.
-
Take your e-waste to an R2 or e-Stewards certified recycler.
To reassemble your device, follow these instructions in reverse order.
Repair didn’t go as planned? Try some basic troubleshooting, or ask our APC Smart-UPS SRT30000XLA Community for help.
