Introduction

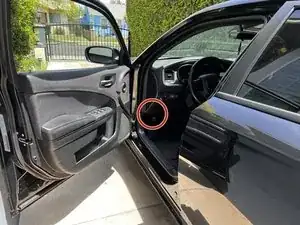
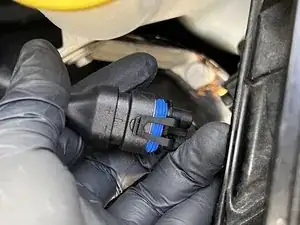
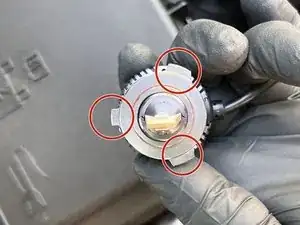
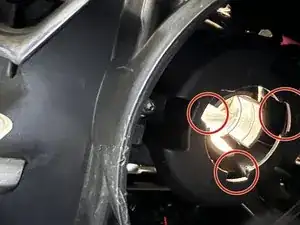
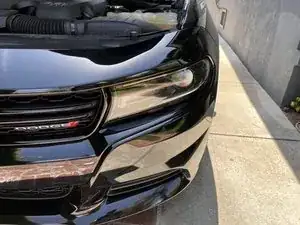
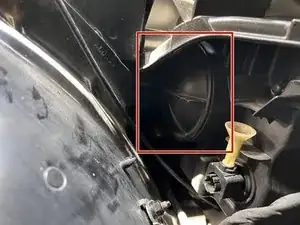
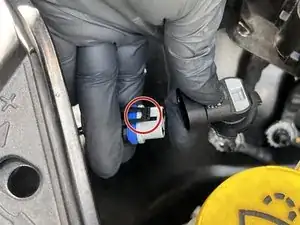
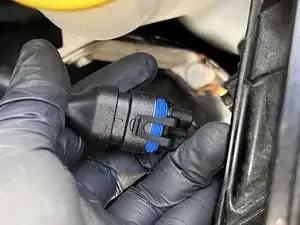
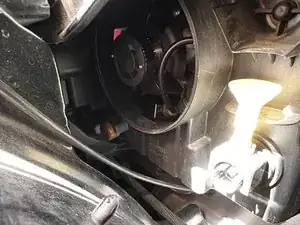
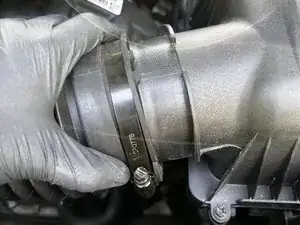
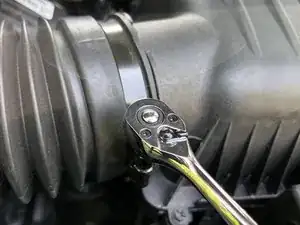
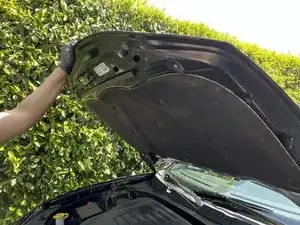
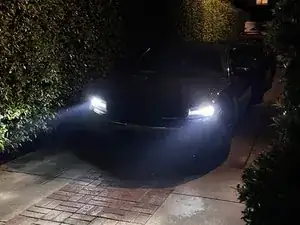
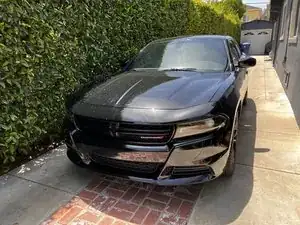
Learn how to replace the headlight bulbs for a 2018 Dodge Charger. All that is required is to open the hood, locate the headlight compartment and replace an old headlight bulb with brand new ones.

This guide walks through the process for replacing the bulbs on both sides - the process differs between them. Skip to Step 9 for the driver's side bulb.

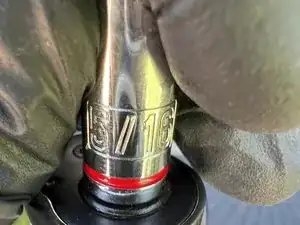
Note: The tools provided are the exact ones used during the repair. Feel free to explore options. The most important is for the socket to be 5/16 inches and compatible with the ratchet you are using to loosen the screws. Use a head flashlight in case you decide to work during the night.

Before beginning, turn off the car, place it in park, and engage the parking brake.

  1. JoyJhL6EYHtXNnXF
    • Before you begin, make sure the vehicle is turned off and placed in park with the parking brake engaged.

  2. kgGagVN5JU5ScwoT
    kgGagVN5JU5ScwoT
    6IeiLSWYZyjQf5yD
    EDqq1doHu4BLZFJm
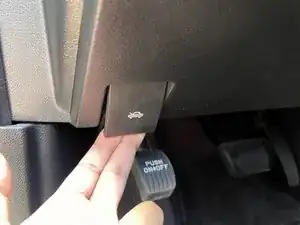
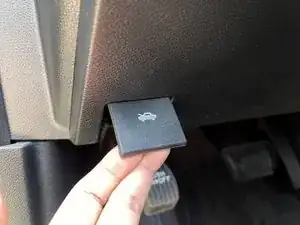
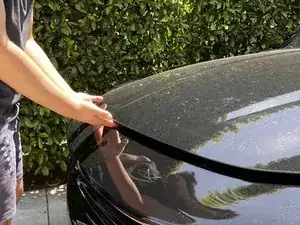
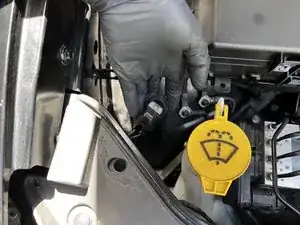
    • Open the hood by pulling the release lever inside the vehicle, located on the driver's side by the parking brake.

    • Once pulled, you will hear the sound of the hood pop open.

  3. HmAqPDPyDunO4TTQ
    HmAqPDPyDunO4TTQ
    mPkYWg63ckjCEmBQ
    VZKdw525uVH3EHhX
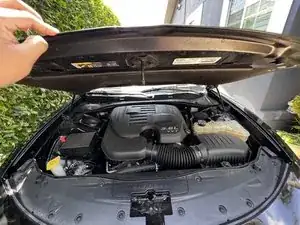
    • Carefully place your hands under the hood, towards the middle of the car.

    • When you feel the lever, push it to the left using your left hand and slowly push the hood up with your right hand.

    • If your Charger has or requires a stand, prop it up.

    • This model of Charger does not require a stand to hold the hood. It will automatically hold on its own.

  4. UPMrSXPhIFVqkOwe
    UPMrSXPhIFVqkOwe
    lMZW35sFvmjEgKpi
    pGdBuYKR5iyb1feE
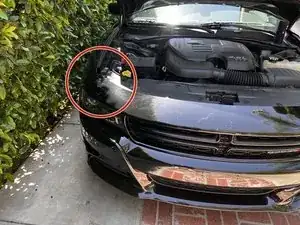
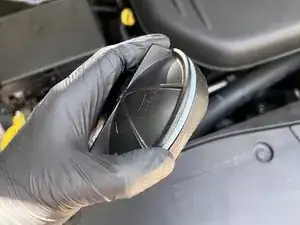
    • On the passenger side of the car, unscrew the cap covering the headlight compartment.

    • Remove the cap from the headlight.

    • Use gloves to protect your hands.

  5. O1VTWAQDuyxAVtFN
    O1VTWAQDuyxAVtFN
    NkBrMCJvRSyYHSAY
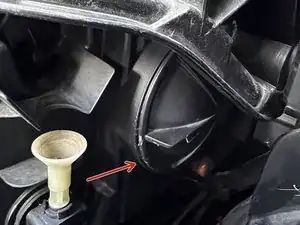
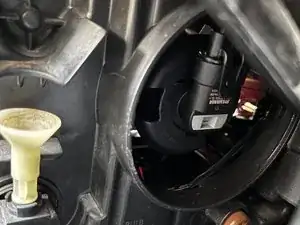
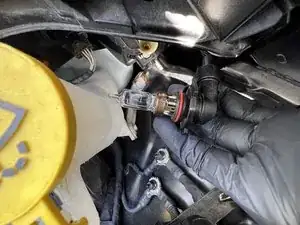
    • Once you remove the cap, you will see the current bulb that is installed.

    • Slowly twist the bulb clockwise, and remove it from the compartment.

  6. VQXvmKhH6vUUjxTW
    VQXvmKhH6vUUjxTW
    hegKUwLfJ6UD23WE
    Ls4h1FtMtLwtJNWi
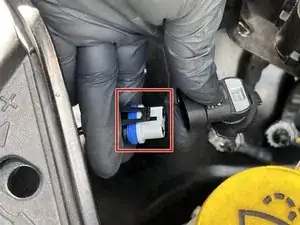
    • Unplug the bulb from the adapter.

    • Lift the lever and carefully detach it.

    • Place the bulb in a safe area away from the vehicle.

  7. aSbiTdlqNOKSuJZF
    aSbiTdlqNOKSuJZF
    y2idqKGKI26AtLtp
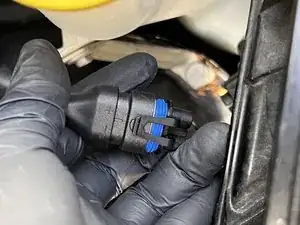
    • Connect a new light bulb to the adapter.

  8. xyUtISb52XXYNyo1
    xyUtISb52XXYNyo1
    QUuUuAUKkfHAL1XS
    UIiPlPVcJg4OfyLe
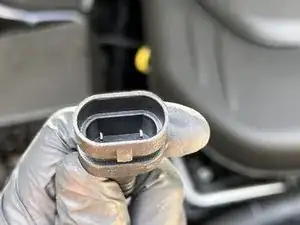
    • Align the bulb to the shape of the hole and turn clockwise to safely lock.

    • After installation, you will see cables sticking out. You can manage this by fitting it in the compartment.

    • Place the cap back on the compartment and tightly seal it.

  9. BiQqoUPrNOvUN6nO
    BiQqoUPrNOvUN6nO
    AbVq6PSBMqFmybKU
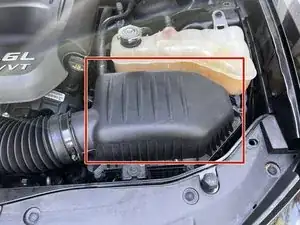
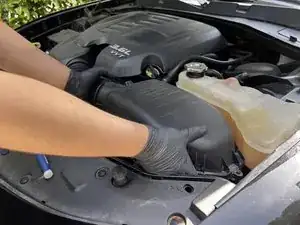
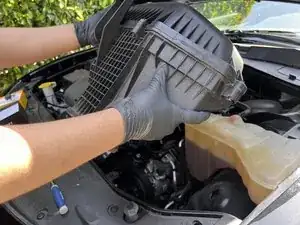
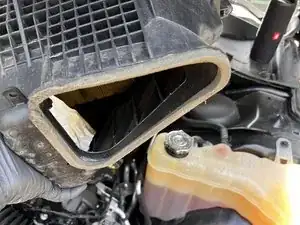
    • To access the driver's side lightbulb, you have to remove the air intake from under the hood.

  10. uUTwLKlKkdrUfvOH
    uUTwLKlKkdrUfvOH
    R4Em44rGrUhOnFiJ
    bOvKURPHyURkTwcX
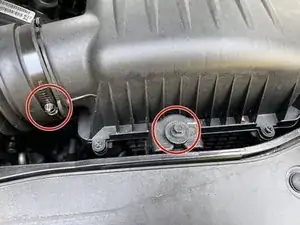
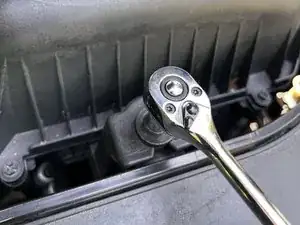
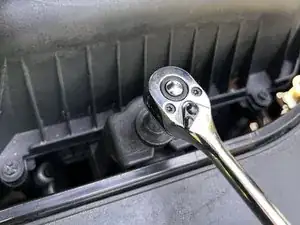
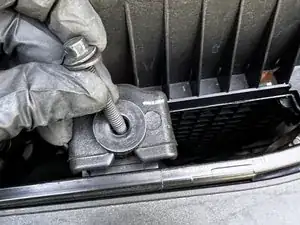
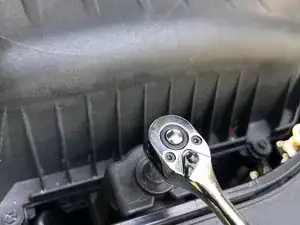
    • Loosen two bolts using a 1/4 ratchet with a 5/16 inch socket.

    • Gently loosen the bolt. Loosening it too quickly may result in the screw falling into the engine compartment.

  11. qCBB1P2PUNmiQZXd
    qCBB1P2PUNmiQZXd
    xZvXnAmmOGxsdTQV
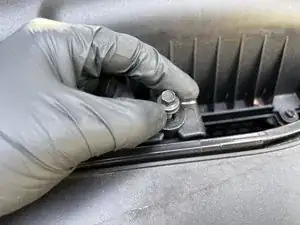
    • Once the screw is loosened, use your hand to continue the process.

  12. ZCIPiBWRc6LM1JQl
    ZCIPiBWRc6LM1JQl
    4bi5XqCuVuJP46h6
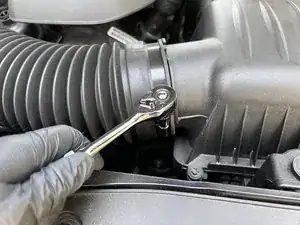
    • Loosen the screw attached to the ring.

    • Detach the tube from the intake.

    • Do not remove the ring from the tube.

  13. jIQnkESVh6eZfPRp
    jIQnkESVh6eZfPRp
    M1A2HGJ6qrCTeTDX
    T2mMqlumF6Cp1erh
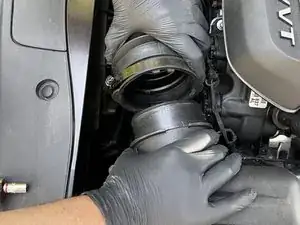
    • Grab the intake with both hands and gently lift upwards.

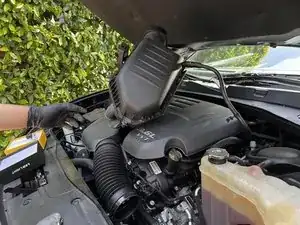
    • Place the intake safely on top of the main engine block.

  14. LOOTt1EErabeLGkN
    LOOTt1EErabeLGkN
    rk1PBkWprL4tIKcQ
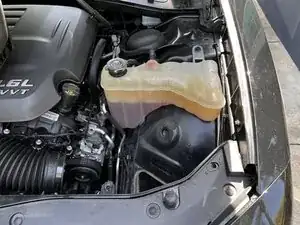
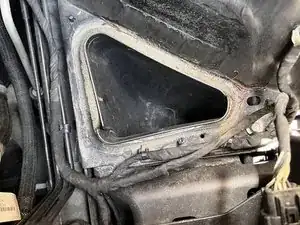
    • Once the intake is safely removed, you can access the headlight compartment.

  15. h24upfDNuuK3bvTl
    h24upfDNuuK3bvTl
    kVrMMWFJD5NSUw3O
    TnQKjcSTjaLa1E5F
    • Remove the light bulb by lifting on the small lever.

    • Connect the new headlight bulb and firmly align the bulb to the compartment.

    • Double check that the bulb is properly installed and connected. If it is not installed properly, you will have to remove the intake again.

  16. MgLTcE22UniftVxM
    MgLTcE22UniftVxM
    rBGN1CIJPu4UOHeq
    • Place the intake back in its original place.

    • Align the bottom of the intake to its original spot as seen in the picture.

  17. ffMEsqDGdULy5dJW
    ffMEsqDGdULy5dJW
    5LJcpEdXyiEUQePX
    • Place the bolt and ring back on the intake.

    • Tighten the screw with your hands and finish securing the screw using the 1/4 ratchet and the 5/16 in socket.

  18. mN2ZDdTTxAauDLNr
    mN2ZDdTTxAauDLNr
    vCDOHpamUZ3BupTQ
    sEs6C2A1mqEJwVRb
    • Firmly attach the tube to the intake.

    • Tighten the screw using the 1/4 ratchet with the 5/16 inch socket.

    • Close the hood of the vehicle.

    • Before closing the hood, make sure the engine compartment is clear of obstruction.

  19. JCMqnGFm4drqXIWy
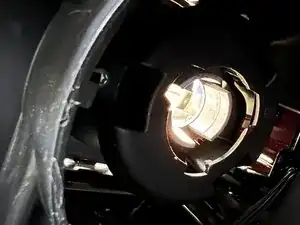
    • Power on the vehicle to ensure the new headlight bulbs are successfully working.

Conclusion

Congratulations, you've successfully replaced both lightbulbs!
Anthony Does Repairs

Member since: 14/03/22

313 Reputation

0 comments