Introduction
This is a guide on how to replace the cabin air filter on a 2015 Toyota Highlander SUV. The filter helps clean the air used by the A/C and heat system of your car’s ventilation system by preventing dust, pollen, and dirt along with other contaminants from the air. The cabin air filter is easily replaceable without the use of any tools and should be replaced every 30,000 miles in average conditions. This fix is something that can be done with minimal experience as it only requires a few plastic latches to be unhooked. Not replacing this filter can severely compromise the car’s ventilation system with lack of airflow as well as foul odors and contaminants entering the air inside the car. This can also cause a breakdown if not addressed and a bigger repair bill down the line, so preventative maintence like this should be kept well maintained.
The filter can be bought from any local auto parts store, or those carrying them, as well as online retailers. Just make sure the filter is specific to your car model, as this guide applies to the Toyota Highlander from model years 2014-2019.
Parts
-
-
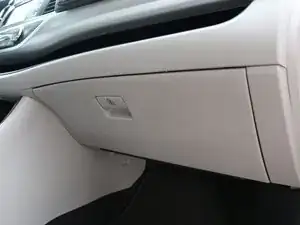
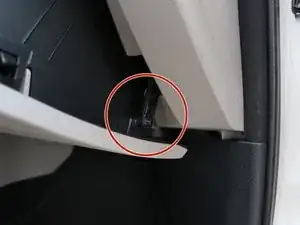
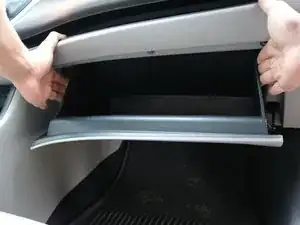
Detach the latch at the lower right-hand side of the glovebox.
-
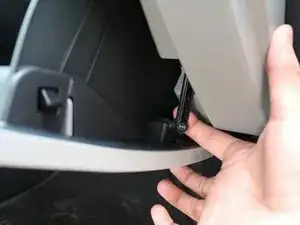
Pull it outwards and unclip it with your finger as shown.
-
-
-
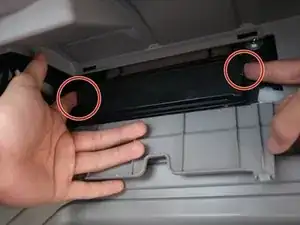
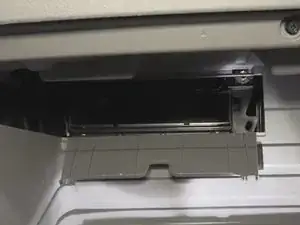
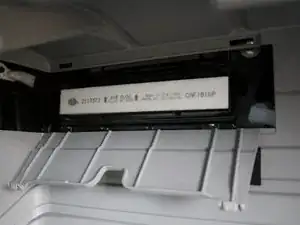
Swing down the front plastic cover.
-
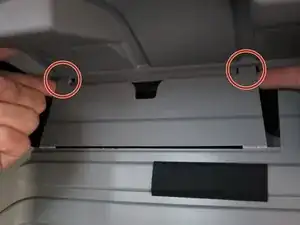
Unhook the tabs from both sides of the rear plastic cover and pull it out.
-
-
-
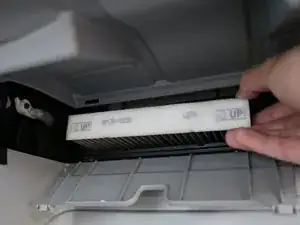
Remove the old cabin air filter from the vehicle.
-
Clean any debris found in the cabin air filter compartment.
-
To reassemble your device, follow these instructions in reverse order.
