Introduction

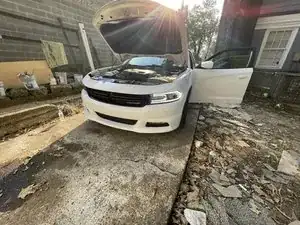
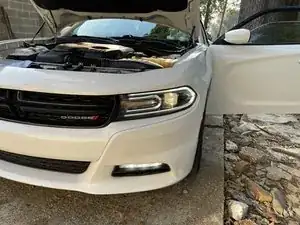
Is your headlight bulb not working? This guide will help you replace the bulb for a 2015 Dodge Charger SXT in 10 quick and easy steps without experience using a minimum of one tool and two attachments.

Probable cause: Light burnout

Tools used: A Phillips screwdriver and an 8 mm socket.

Note: The tools provided are the exact ones used during the repair which can be purchased from the link. Feel free to explore options. The most important is for the socket to be 8mm. It has to be compatible with the ratchet you are using to loosen the screws.

Result: Headlight replaced successfully and a lot of money saved!

  1. C6nT2cdN5FmHWyuP
    • Before you begin, make sure the car is turned off and placed in park.

    • Pop open your hood.

    • This model of Charger does not require a stand to hold the hood. It will automatically hold on its own.

  2. hSuiunYbFTProP1f
    hSuiunYbFTProP1f
    xGFVjXrODIcuCPcB
    JrTk63qQNhlJQOAU
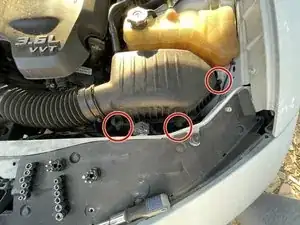
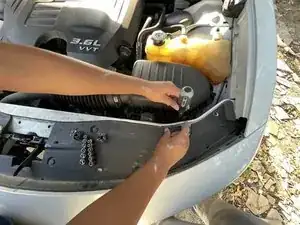
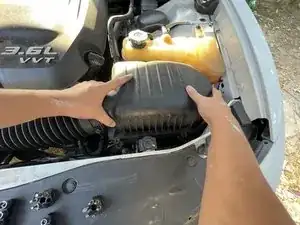
    • Use a Phillips #1 screwdriver to remove the three screws that secure the intake filter cover.

    • Slowly loosen the screws. Loosening them too quickly may result in the screw falling into the engine compartment.

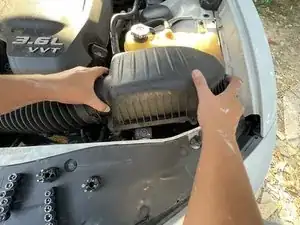
    • Grab the intake cover with both hands and gently lift upwards.

    • Place the cover safely on top of the main engine.

  3. wr4bdhiFsTL2vovQ
    wr4bdhiFsTL2vovQ
    MkoC5KmJdHDHHYne
    A2AWHbPtSncQHLSQ
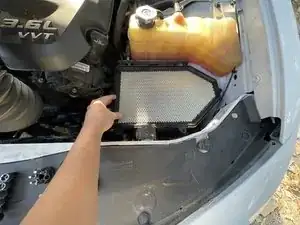
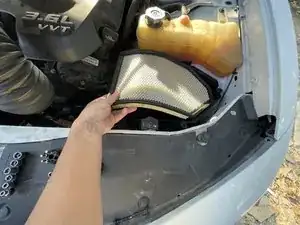
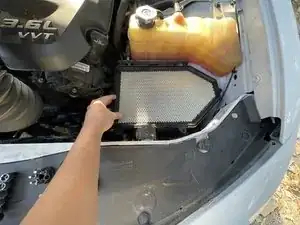
    • Once the air intake cover is removed, the air filter can be taken out.

  4. FlwMKbUJc2iHfOSC
    FlwMKbUJc2iHfOSC
    SFImjxKCH4snYUuS
    NK2bvLwueL6elGid
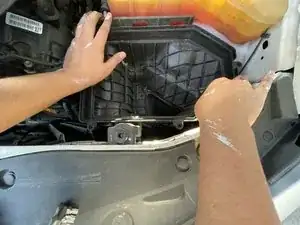
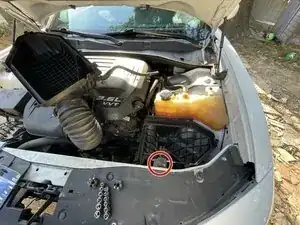
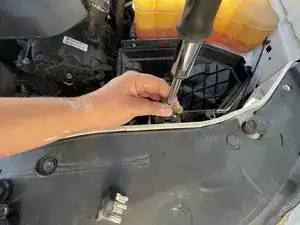
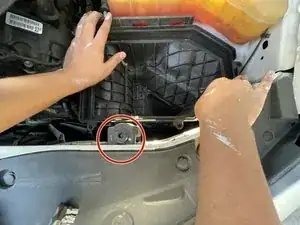
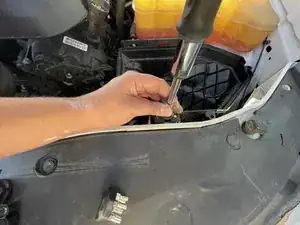
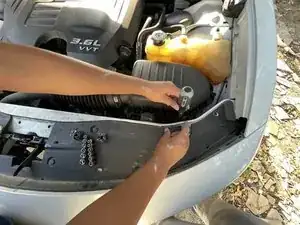
    • Loosen the bolt using a ratchet and an 8mm socket.

    • Lift the air intake compartment up and out of the engine bay.

  5. GX5mSlPiuSUqD4gr
    GX5mSlPiuSUqD4gr
    5ODQ6Xjt6ZAm43gn
    3IZQdexCxXOmiPlr
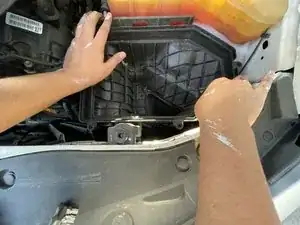
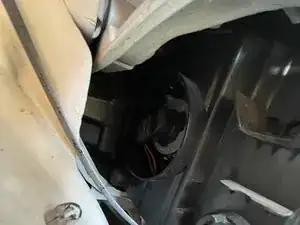
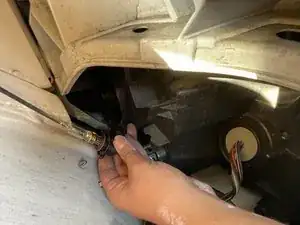
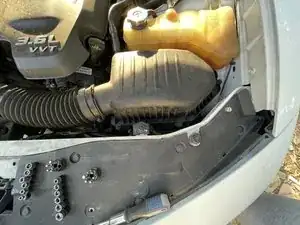
    • Once the intake is safely removed, you can access the headlight compartment.

    • Remove the headlight compartment cap by twisting it counterclockwise.

  6. SmiMsgHJMTXKQAFK
    SmiMsgHJMTXKQAFK
    IDxppRIOsJBDHn1R
    s2CRne4X12cZDKdF
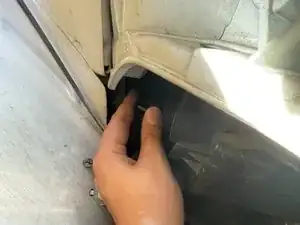
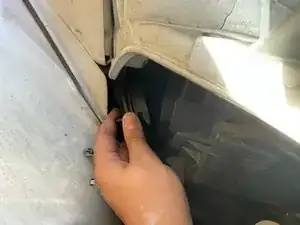
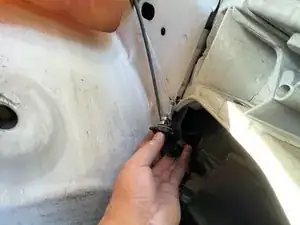
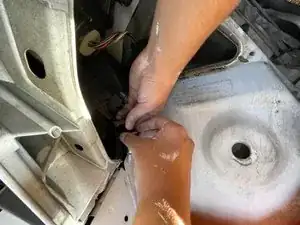
    • Remove the headlight compartment by twisting it counterclockwise.

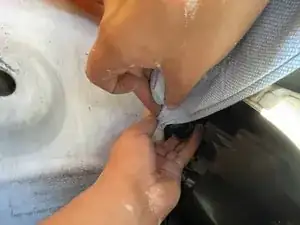
    • Now remove the old headlight bulb by lifting the small lever.

    • Use gloves or a rag to keep from touching old oils or burnt marks.

  7. FZZU4xnFGdLi4Vxy
    FZZU4xnFGdLi4Vxy
    kjJjgJu5btQWGPFp
    YSrs1IWDPiZgkTea
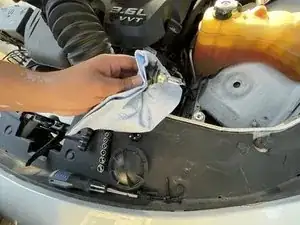
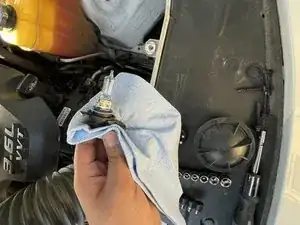
    • Connect the new headlight bulb and firmly align the bulb to the compartment.

    • Insert it back into the compartment and turn it clockwise to secure it.

    • Double check that the bulb is properly installed and connected. If it is not installed properly, you will have to remove the intake once more.

    • Use gloves or a rag. Do not touch the new headlight bulb with your fingers as it can damage it and lower its performance.

  8. S31Rh2c1CMLsMbRc
    S31Rh2c1CMLsMbRc
    NWtFGJHGPSUNHsOn
    lF3gLdUf6WAjCTwJ
    • Place the intake compartment back in its original place. Tighten the screw with the 8mm socket used in step 4

    • Place the air filter back in its place. Align it with the intake compartment.

  9. tPOoIRRPLxV2VIAs
    tPOoIRRPLxV2VIAs
    pZQwqejN4sjpVK1n
    IicWDMbCELfFiMCf
    • Using both hands align the cover with the three screws holes.

    • Tighten the three screws using the Phillips screwdriver.

    • Double check that the air intake is safely secure and not loose.

  10. rMKJDCqkPDRLgNMV
    rMKJDCqkPDRLgNMV
    HpGVwllHRTDdOlAC
    • Power on the vehicle to ensure the headlight bulb is successfully working.

    That's great for the drivers side but what about the passenger side bulb?

    Hindra -

Conclusion

To reassemble your device, follow these instructions in reverse order.
Martin Jaramillo

Member since: 19/09/22

229 Reputation

0 comments