Introduction
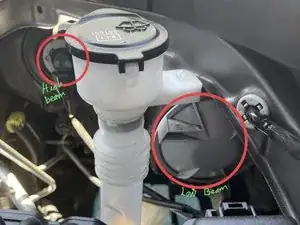
This guide will show you how you can upgrade the LED headlight for the 2019 Toyota Highlander. The primary purpose of this upgrade is to improve the headlight's brightness which will increase the driver's ability to see at night. The LED light also causes less eyestrain than the OEM headlight.
Before beginning this repair, you must do the following: turn off the car's ignition, place the car in park, and engage the parking brake.
Tools
-
-
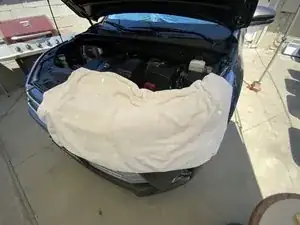
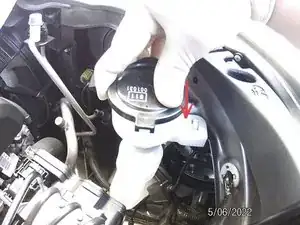
To give yourself more space to work with on the side where the windshield washer reservoir resides, we are going to relocate the nozzle of said reservoir.
-
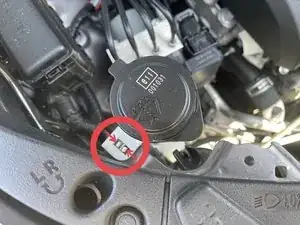
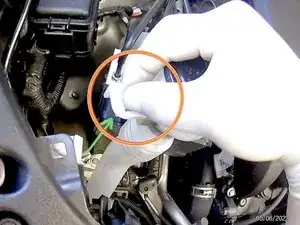
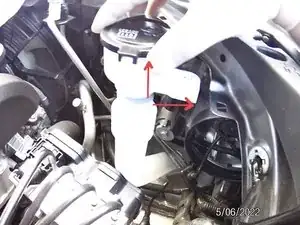
Unlock the clip by pressing from both sides of the clip.
-
While pressing the clip, pull the nozzle up to detach it.
-
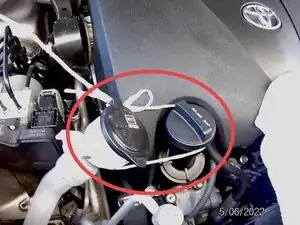
Use a plastic roll to tie the nozzle of the reservoir to the oil cap.
-
-
-
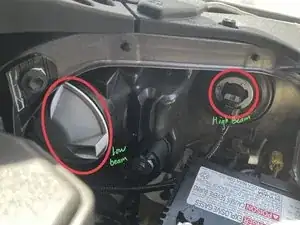
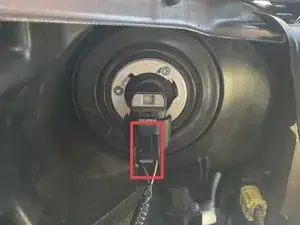
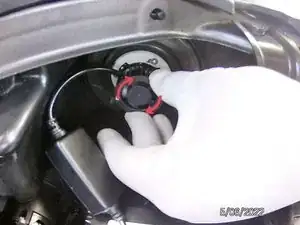
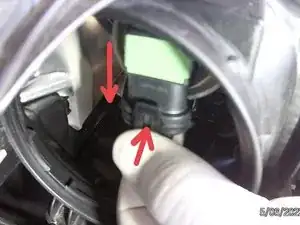
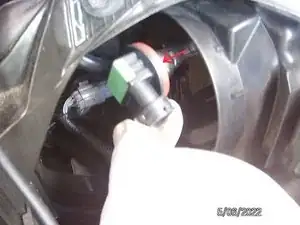
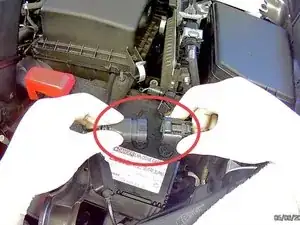
Locate the high-beam electrical cable connected to the light.
-
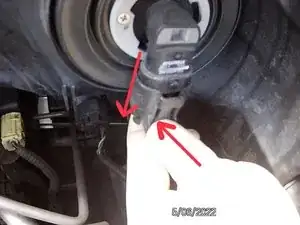
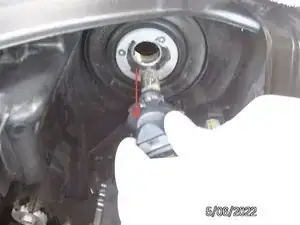
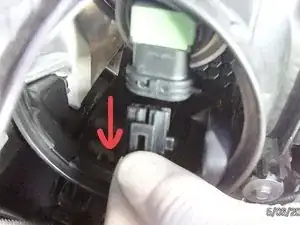
To disconnect the electrical cable, press the clips on both sides and pull the cable down.
-
-
-
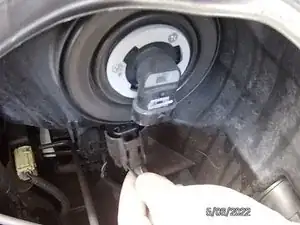
Now that the electrical cable is out, we can now remove the lightbulb.
-
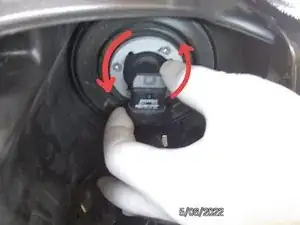
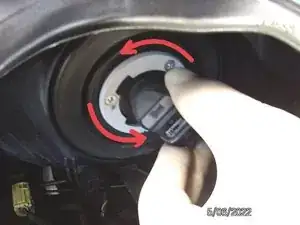
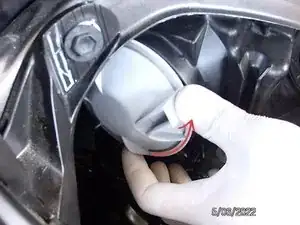
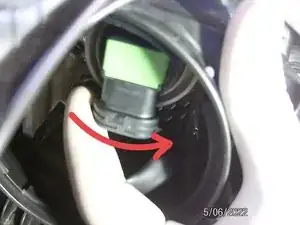
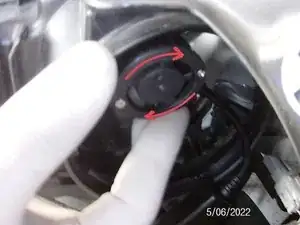
First, turn the bulb counterclockwise.
-
Once the bulb is turned in that direction, you can now pull the bulb out of the socket.
-
-
-
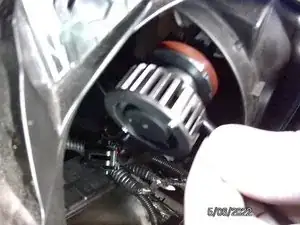
Install the high-beam LED light bulb.
-
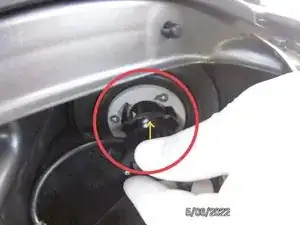
Place the LED bulb in the socket.
-
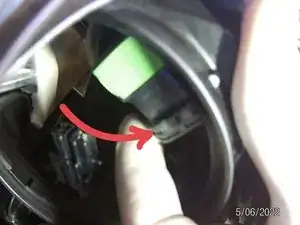
Once the bulb is in the socket, turn the bulb clockwise.
-
-
-
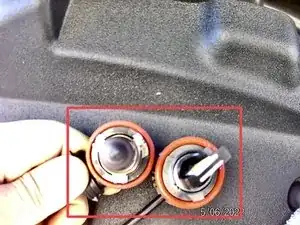
For the low-beam bulb, we need to remove the OEM cover first to access the bulb.
-
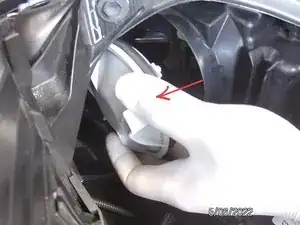
To remove the OEM cover turn it counterclockwise and pull it out.
-
-
-
Locate the electric cable of the low-beam light bulb.
-
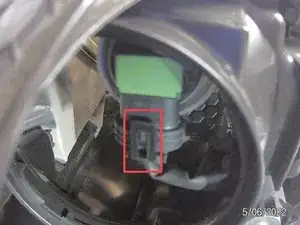
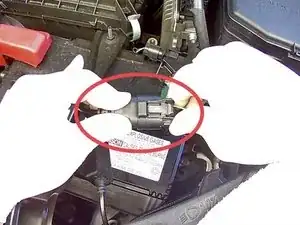
First, press down on the clip
-
While pressing down the clip, pull down cable down to remove the cable
-
-
-
To remove the bulb from the socket, turn the bulb counter-clockwise.
-
Once turned all the way, take the bulb out of the socket.
-
-
-
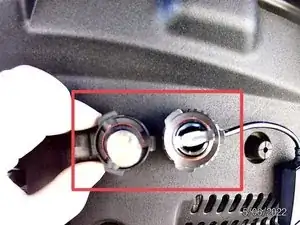
Same as the high beam bulb, the low beam light bulb also have three small mounts.
-
Once the bulb is in the socket, turn the bulb clockwise to secure it.
-
-
-
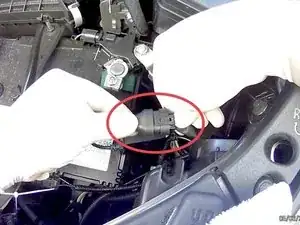
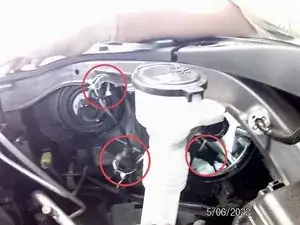
Once the low-beam and high-beam bulbs are installed on both sides, you must now reconnect all of the electrical cables.
-
Make sure to connect all the cables with the corresponding electrical terminals.
-
Push on both sides of the connecter until the lock is in the position. (They will make a click sound.)
-
-
-
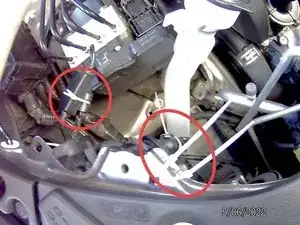
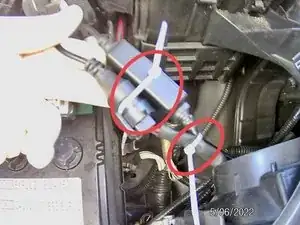
In order to organize the residue cables, you can use zip ties
-
Tie the cables according to the bulb they are connected to.
-
Once the cables are tied together, you can secure the cables to the frame of the car.
-
-
-
We will now put back the nozzle of the windshield washer reservoir.
-
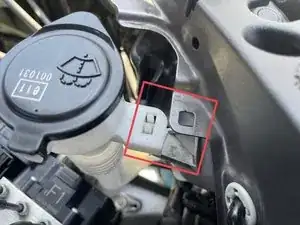
Untie the nozzle and place the secure lock in the small hole on the small metal mount.
-
Gently push it down to lock. (It will make a click sound when it's locked.)
-
-
-
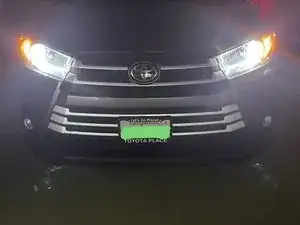
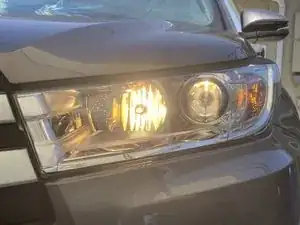
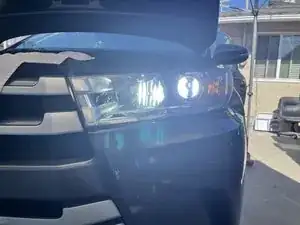
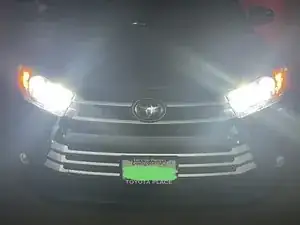
These are the before and after results: The old light bulbs are yellow light, and the new LEDs are white light.
-
The upgrade of LED light significantly improved the brightness of the vehicle's headlights. It also makes the car look more modern with clear white light. It is essential to buy the correct light bulb that is compatible with your car. You can search for the make and model including the year of the vehicle; this will help you to find the right LED light.
3 comments
hi, if you don't mind, please also provide the light bulb you used for High and low beams. and thank you for your post!
Thanks for the article. Everyone kindly note. Please do NOT forget to adjust the low beams down when installing LEDs. Projector and non projector housings are built for halogen original sources. When installing LEDs the shape of beam is much sharper and blinds other drivers if not adjusted properly. Every vehicle has adjustment screws please ALWAYS adjust your lights down when replacing with LEDs, for any type of car! google how to find the screws and take the time to perform this important step after installing LEDs!
Does this also replace the daytime running lights
