Introduction
If your taillight bulb for the 2016 Toyota Highlander Limited is not working or needs to be replaced, just follow this guide to replace the taillight bulb and ensure your safety while on the road.
Before starting the replacement process of the taillight bulb, make sure that the vehicle is turned off and in parked position.
Tools
Parts
-
-
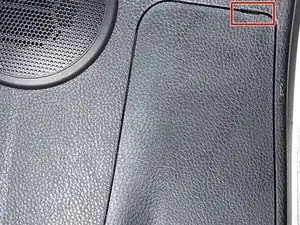
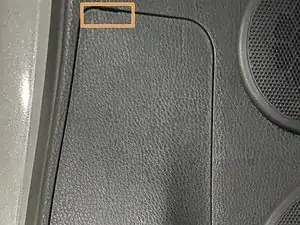
There are 2 panels on both the left and right sides of the trunk, depending on which taillight bulb needs to be replaced.
-
The panel to replace the left taillight bulb should look like this, and have a small opening located on the top right
-
And the panel for the right-side taillight bulb should look like that, having a small opening on the top left.
-
-
-
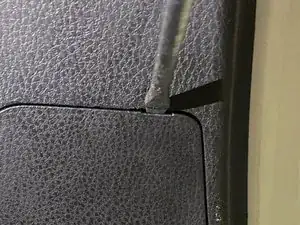
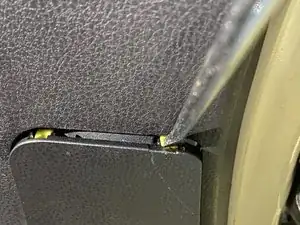
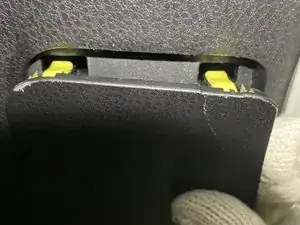
Remove the panel, or both if replacing both taillight bulbs, by using a flat head screwdriver or a plastic spudger and putting it in the small crack in-between the trunk and the panel.
-
Lift the panel up from the side you put the flat head screwdriver in. Use some force to pull the rest of the panel off completely.
-
-
-
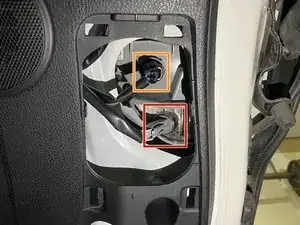
There are 2 bulbs inside the panel: the taillight bulb is the one above the reverse light bulb.
-
The lower bulb, which is for the reverse light.
-
The bulb that is above the reverse light is for the taillight bulb. Which is what we are looking for to replace.
-
-
-
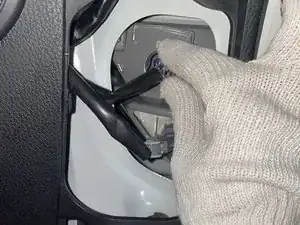
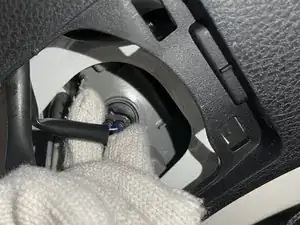
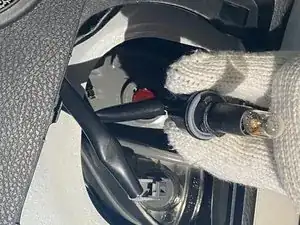
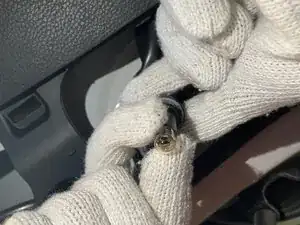
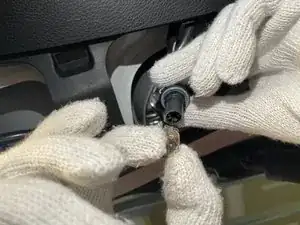
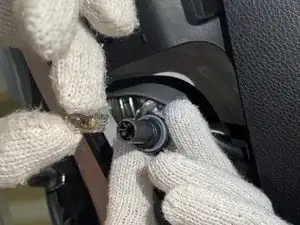
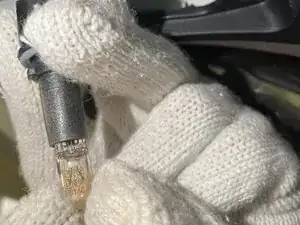
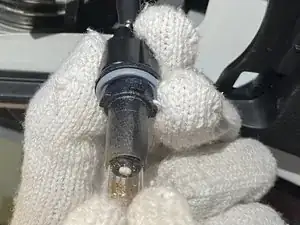
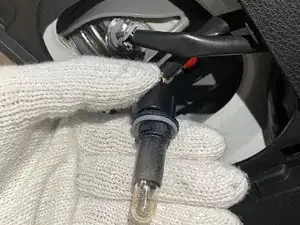
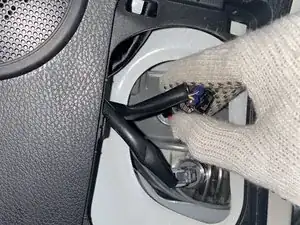
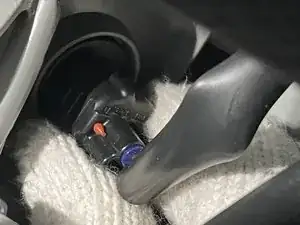
Remove the taillight bulb from the hole, by grabbing the bulb and twisting it counter-clockwise.
-
Pull it out when you hear a click.
-
-
-
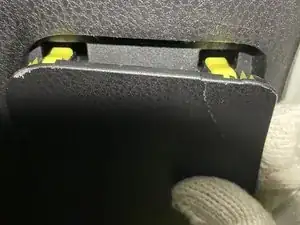
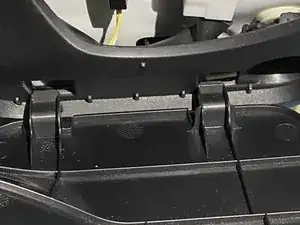
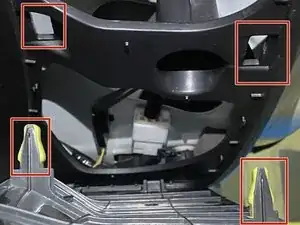
To put the panel back, put the 2 clips at the bottom of the panel into the locks.
-
Put the middle clips into their place, you will hear a click when the middle two clips are in place.
-
Put the top 2 remaining clips of the panel into their locks.
-
You can test the new bulb by turning on the car and turning on the headlights. And then go around to the back of the car and see if the lights are red, if it is then that is great if not, that would suggest going back through the steps and see if you have properly inserted the bulb in the plastic and the hole itself as that is most likely where the issue is. Also, double check if you have the correct bulb as this is as important as following the steps.
