Introduction
You may have a blown fuse in your 2014-2022 (3rd Gen) Mazda 6 if electrical systems like powered seats, power outlets, or speaker cease working properly.
This guide will show you how to identify and replace blown fuses in your 2014-2022 (3rd Gen) Mazda 6. This fix does not require special skills or tools, and is a fairly safe and simple process.
If, after following this guide, your problems are not fixed it is recommended that you take your car to a trusted mechanic for more a in-depth diagnosis.
Tools
Parts
-
-
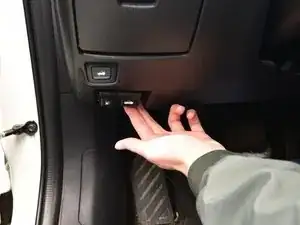
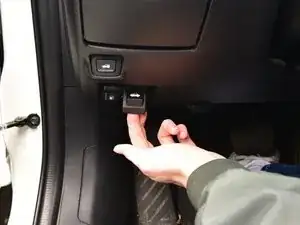
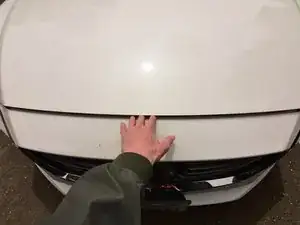
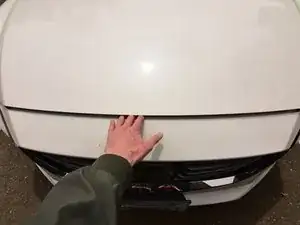
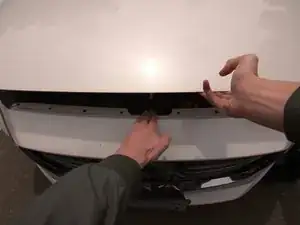
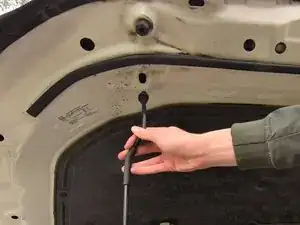
Slide the hood release found underneath the front center of the hood to the left to unlatch the hood.
-
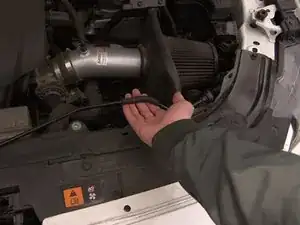
Use your other hand to lift up the hood while holding the hood release open.
-
-
-
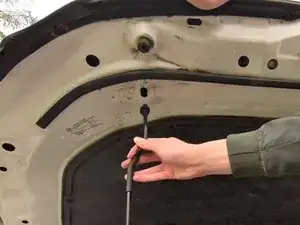
Release the hood stand from its resting spot.
-
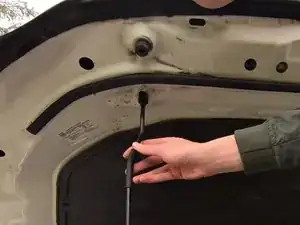
Pivot it upwards to align with the slot located underneath the left side of the hood, indicated by the embossed arrow.
-
Carefully insert the tip of the hood prop into the slot to hold the hood up.
-
-
-
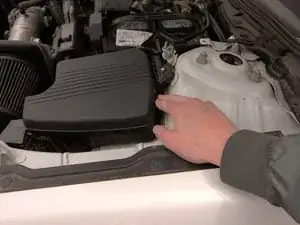
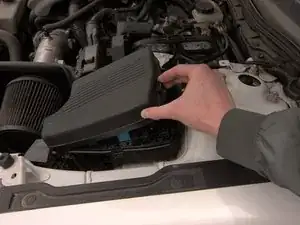
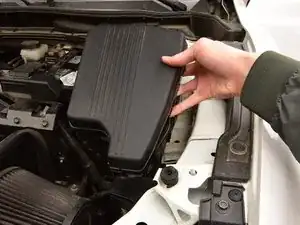
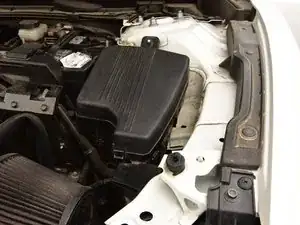
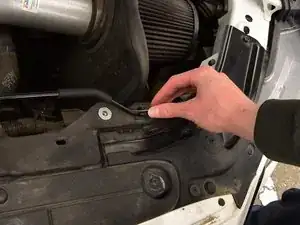
On the back side of the fuse box, found on the right side of the engine bay, push the release in and lift up the cover to separate it from the base.
-
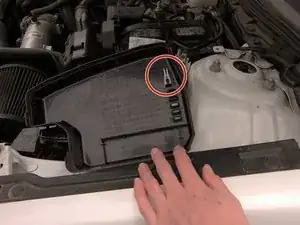
Flip the fuse box cover over to expose the fuse puller.
-
Slide the fuse puller out.
-
-
-
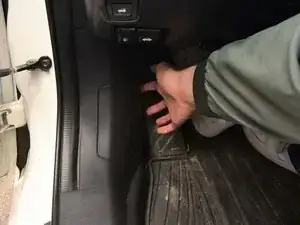
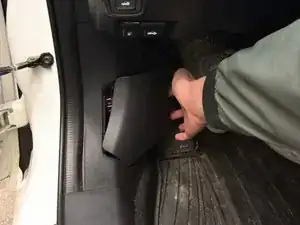
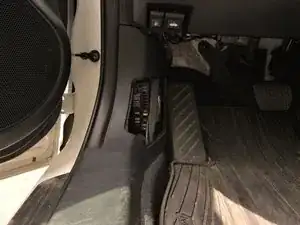
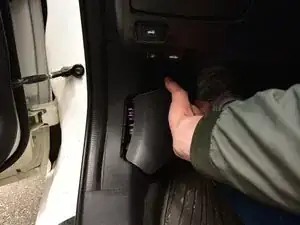
Pull on the finger slot on the back of the panel found on on the left side of the driver's footwell to remove the cover.
-
-
-
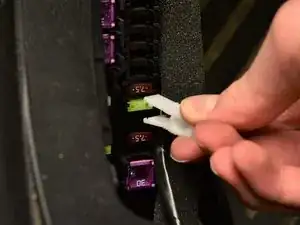
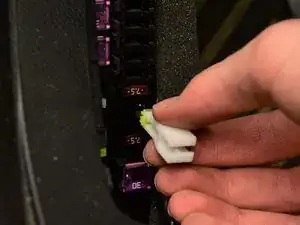
Place the grooves on the small end of the fuse puller around the top and bottom edges of the fuse.
-
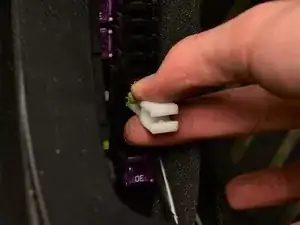
Pinch towards the front of the fuse puller and pull straight out.
-
Continue individually pulling and reinserting fuses until you identify the blown fuse.
-
-
-
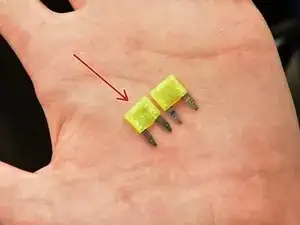
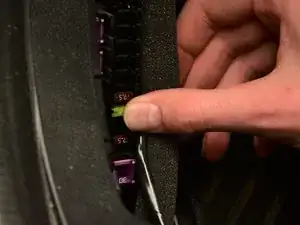
Identify the blown fuse by comparing it to a non-blown fuse.
-
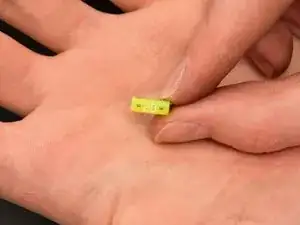
Identify the amperage designated by the number on the front of the fuse, as well as the color.
-
-
-
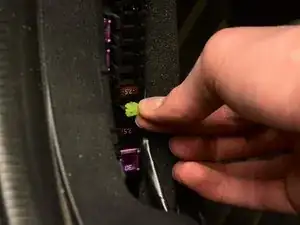
If a fuse is blown, take a new fuse with identical amperage and place it in the same location as the old one.
-
Otherwise, replace the fuse in the same location it was removed from.
-
Align the metal prongs within the correct fuse slot.
-
Use your thumb to push the fuse all the way in.
-
-
-
Replace the fuse cover by first hooking the snaps into place and pushing the rest of the cover into place.
-
Replace the fuse puller on the lid of the engine bay's fuse box.
-
Replace the lid of the fuse box by first hooking the loop of the lid onto the hook on the fuse box then pushing the lid closed.
-
-
-
Remove the stand from supporting the hood.
-
Place the stand in the holder to your right.
-
Drop the hood from about six inches above the engine bay in order to give it enough force to close the hatch.
-
Alternatively you can lower the hood gently until it touches the latch, then push the hood down until the hood sits flush.
-
If you have gone through these steps and your issue hasn't been fixed, a different guide may be necessary.
