Introduction
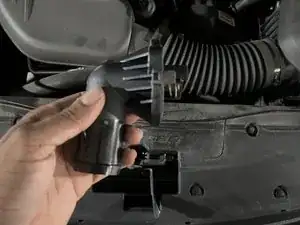
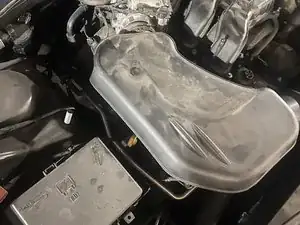
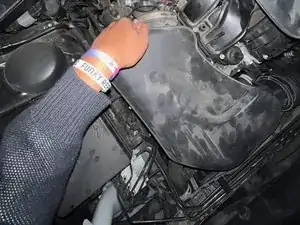
This guide demonstrates how to replace a thermostat in a 2017 Dodge Charger. The thermostat is a critical component in your vehicle's cooling system, regulating the flow of coolant to the engine. When it fails, your car may overheat, leading to serious engine damage. This guide is designed for individuals with moderate mechanical skills. By following these instructions, you'll be able to replace the thermostat yourself, saving time and money.
Tools
Parts
-
-
Place a drain pan under the radiator drain plug. Open the radiator drain plug and allow the coolant to drain into the pan.
-
-
-
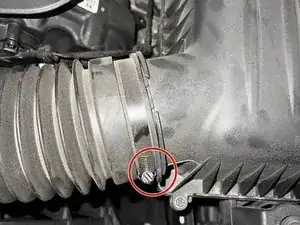
Use a wrench or socket to remove the bolts securing the thermostat housing.
-
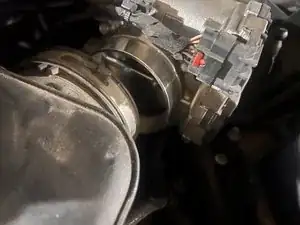
Carefully lift off the housing to expose the thermostat.
-
-
-
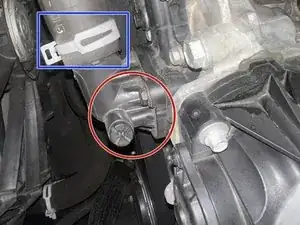
Remove the 2 black screws in the middle of the picture (labeled in red) to remove the thermostat as well as the silver o-ring (labeled in blue) on the edge of the hose.
-
-
-
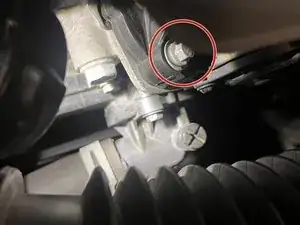
After draining the coolant you'll attach the new thermostat on and screw (labeled in red) the pieces back on.
-
-
-
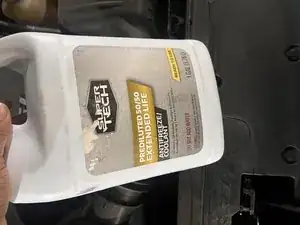
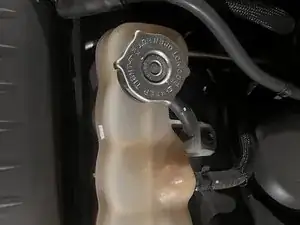
Once all the pieces are back on and fit properly, you will begin using the coolant refill this container. Once full you can begin to start the car and let it run for a few minutes and you're done!
-
Start the engine and let it run with the radiator cap off to allow air bubbles to escape.Top off the coolant as needed.
-
-
-
Now you're done. Be sure to double check the gauge on the inside of your car to ensure it went along properly.
-
To reassemble your device, follow these instructions in reverse order.
