Introduction
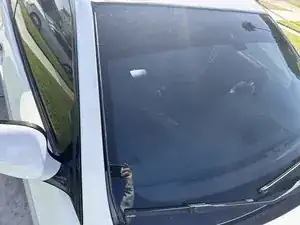
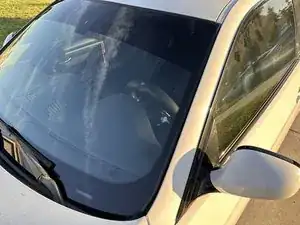
Use this guide to help you replace a cracked, chipped, or worn-out seal for the windshield. This replacement is for the following vehicles: 2005 - 2013 BMW 335i or E92 series. Replacing this requires some tools, but it is relatively simple.
Parts
-
-
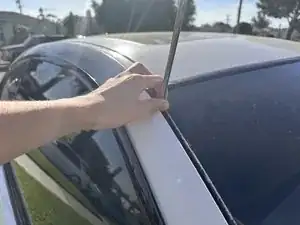
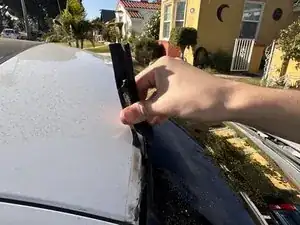
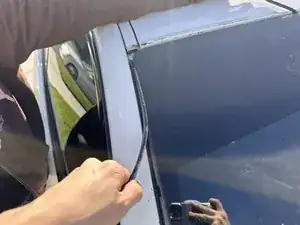
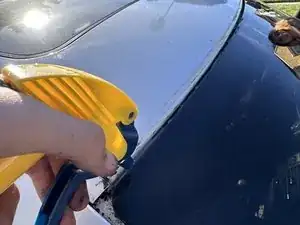
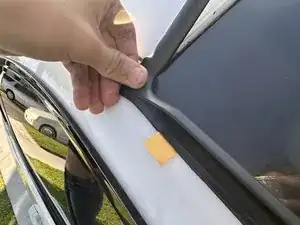
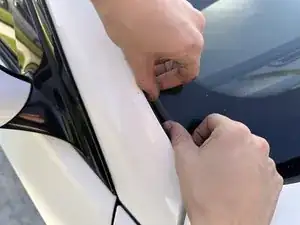
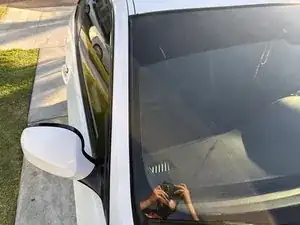
Please begin using a 90-degree pick and lift the seal from the top corner (either side is fine).
-
Use both your hands and the tool to slowly lift up the seal.
-
-
-
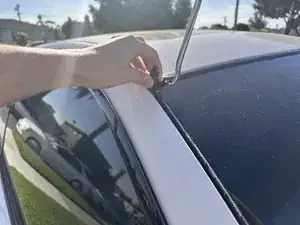
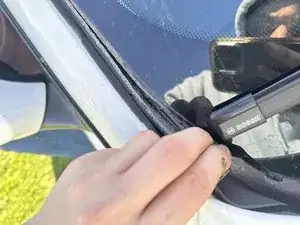
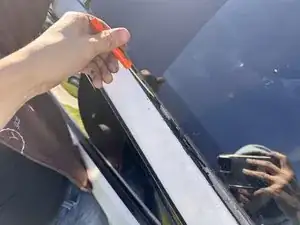
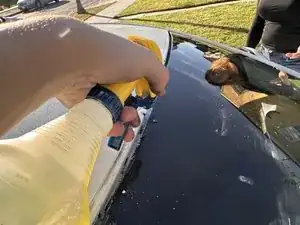
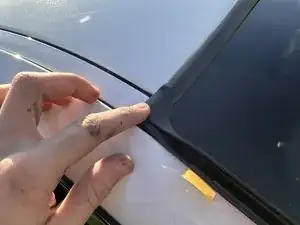
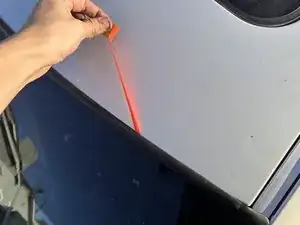
Start pulling off the seal with your hand slowly to prevent the seal from cutting off.
-
If it cuts off, use a small flathead screwdriver to remove the leftover seal that is difficult to reach.
-
-
-
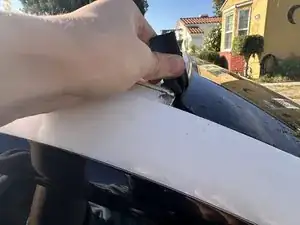
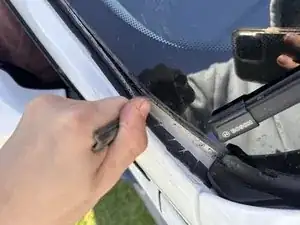
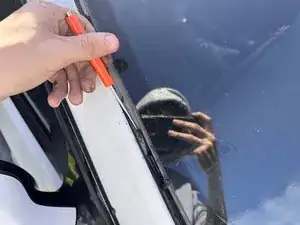
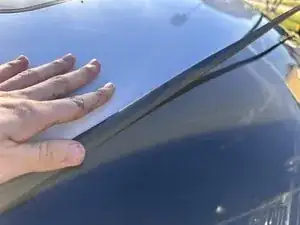
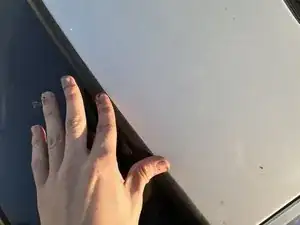
For the passenger side, you might not need tools; you can pull it with your hand.
-
If it is difficult to get rid off please proceed to step 4
-
-
-
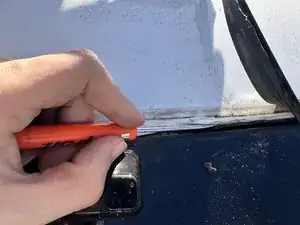
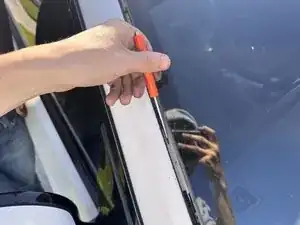
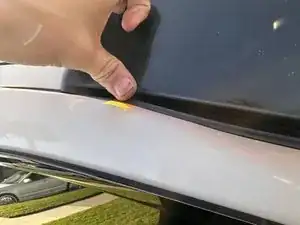
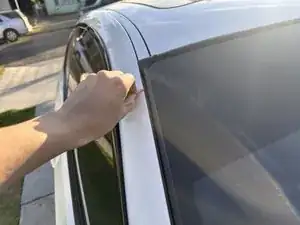
Use the screwdriver to remove any excess rubber from the seal.
-
If stuck, please use the screwdriver to lift the piece by piece of the stuck rubber slowly. The tape on it might be too difficult to get rid of.
-
-
-
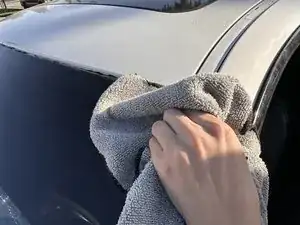
Grab your favorite all-purpose cleaner or any degreaser, and make sure to spray directly into all the crevices.
-
You will also need a microfiber towel to clean the crevices; if they are too tight, please use the 90-degree pick to get in between all the cracks.
-
-
-
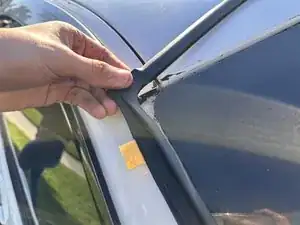
Begin from the corner and begin to push into the crevices. Do the top first for a more straightforward application.
-
-
-
For the sides, make sure that the seal clamps up to the windsheild glass, this is for it to stay in place.
-
Make sure to push in until the seal won’t come off.
-
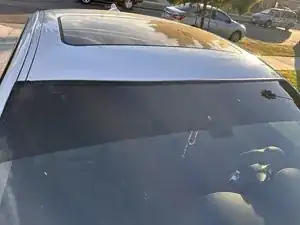
I want to mention that the rear glass seal takes the same steps as the windshield seal. Please follow the steps carefully.