Introduction
This guide is intended for the 2008 Suzuki SX4 Hatchback. It aims to replace the rear brake light bulb, in the case that it is broken or malfunctioning, with an original halogen or LED equivalent.
Having a broken brake light is dangerous for all drivers. In most countries, and in the United States, it is illegal to drive with a broken brake light. Doing so can not only get you into legal trouble, but also in dangerous situations. Driving without one can potentially cause an accident and can cost you your life. It is important to replace this light as soon as possible.
It is an easy fix that does not require you to seek service from a mechanic. Be careful, however, since this guide does involve handling light bulbs and glass. Light bulbs can be dangerous to handle if they have been recently used; you can receive burns or cuts from broken glass if you're not careful!
Tools
-
-
With your vehicle in PARK, engage the emergency parking brake.
-
Turn off your vehicle and make sure all light switches are set to OFF.
-
-
-
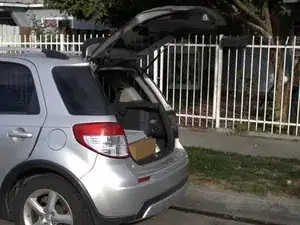
Press the button located under the rear handle and above the license plate to open the hatch.
-
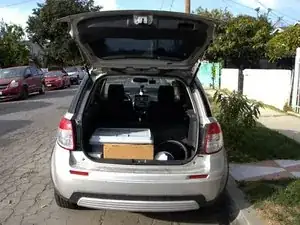
Open the hatch fully to expose the screws on the side of the brake light housing.
-
Open the hatch wide enough to give yourself some space while working on this replacement.
-
-
-
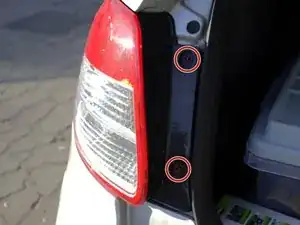
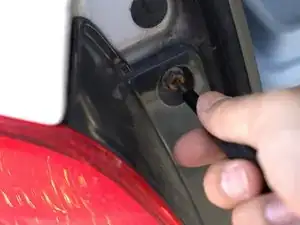
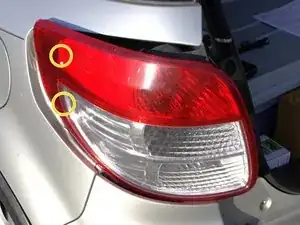
Using a Phillips head screwdriver, remove the two 5 mm bolts from the side of the brake light housing.
-
-
-
There are two clips behind the housing.
-
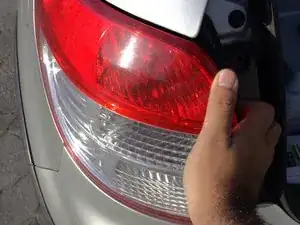
Gently pull the brake light housing towards you until it detaches from your car.
-
-
-
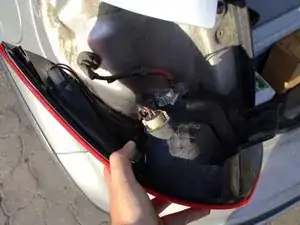
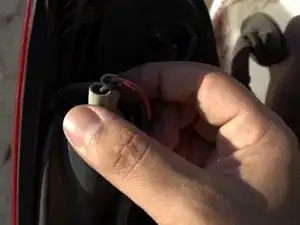
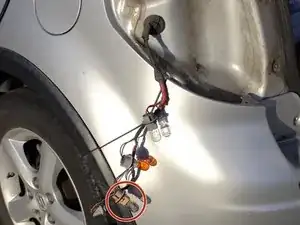
Twist each bulb-connector to the left to unfasten the bulb from the housing.
-
Repeat this step for each bulb so that you can fully remove the housing.
-
-
-
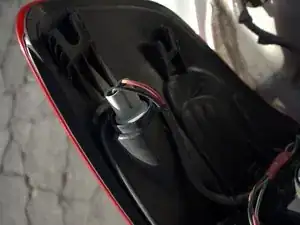
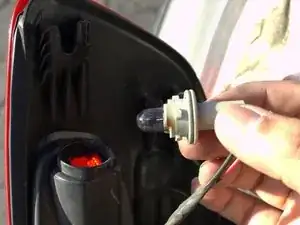
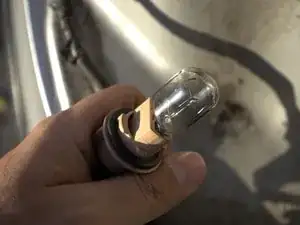
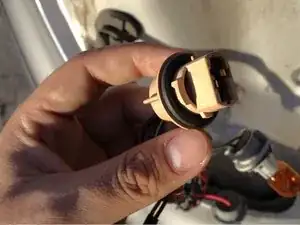
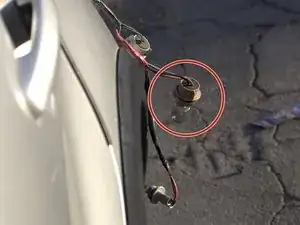
The brake light bulb has a nougat-colored connector.
-
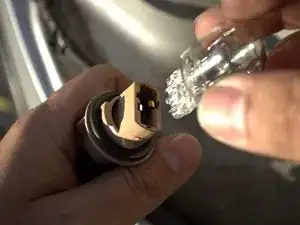
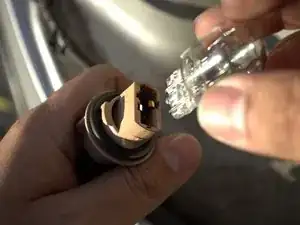
Remove the brake light bulb from its connector by pulling it out of the socket.
-
-
-
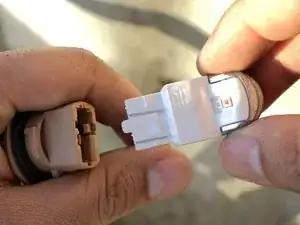
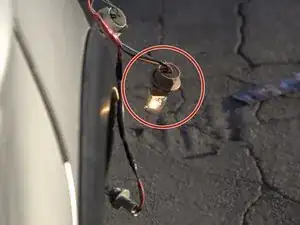
Place the new bulb into the socket.
-
If you are replacing the brake light with an LED Fog Light, ensure it is facing the correct orientation.
-
-
-
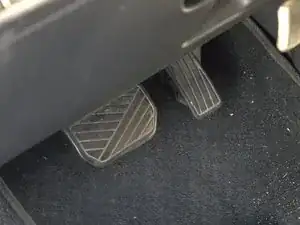
To ensure your bulbs are fully functional, depress the brake pedal. Doing this will make the brake lights turn on.
-
Make sure the light bulb turns on. This will also make sure your LED light is working properly.
-
To reassemble the housing, follow these instructions in reverse order. Once everything is reassembled, turn on all your vehicle lights and ensure all rear lights are functioning.
