Introduction

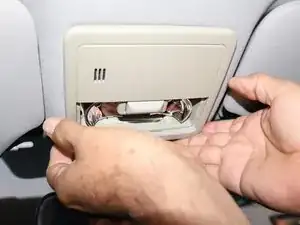
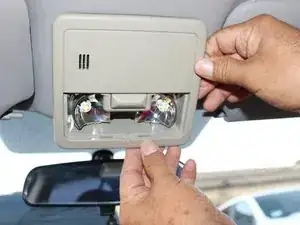
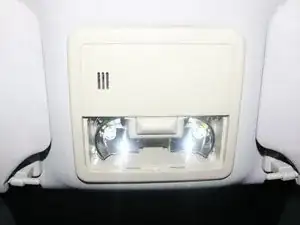
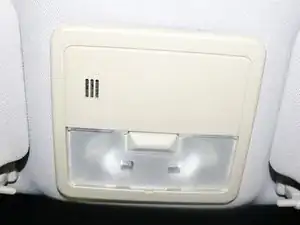
This guide will show you how to replace the map lights of your sixth generation Nissan Sentra (years 2007-2012). Since each car has its own unique features, and while there are guides to fix others, this guide allows Nissan Sentra car owners to replace their car map lights without the risk of damaging the car parts or their vehicle.

When performing this guide ensure that you are in a very well lit area to aid with visibility. Before you begin, make sure the car is off and in park.

If you suspect that your map lights are out, turn them on and off a few times prior to the replacement, however, if you turned your map lights on to test them prior to beginning this guide, wait a few minutes before following the steps presented before you. This ensures that the bulb is cold, which prevents any burns or injuries.

  1. xIMFDCaMFk5n6LW6
    xIMFDCaMFk5n6LW6
    41CHkwLYxniec5Lm
    Ph2ZhYZVGdVBXqoK
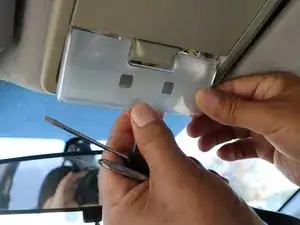
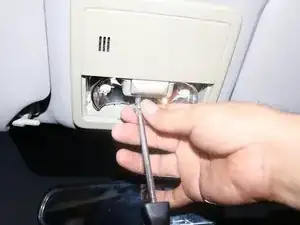
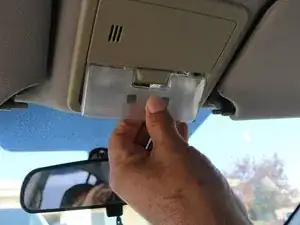
    • Use a spudger or opening tool to gently pry the lens out. Begin in the small space between the lens and console.

    • You should hear a small click when removing the lens from the console.

  2. Dh4GYGtWO6f1uukV
    Dh4GYGtWO6f1uukV
    6424vbDTBEFRV3Zw
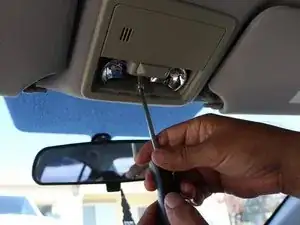
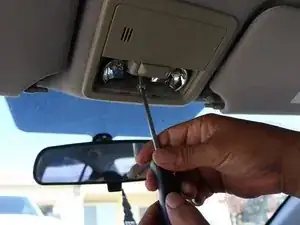
    • Using the Phillips #2 screwdriver, remove the 19.1 mm screw in the middle of the console.

    • Keep both the screw and the lens, from the previous step, in a secure location. You will need them both for reassembly.

  3. TWHUNjMUX12gKogK
    TWHUNjMUX12gKogK
    gDS6EuFAdBPZ2MMO
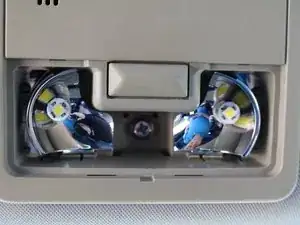
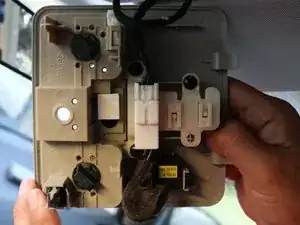
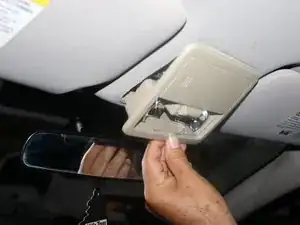
    • Pry the console out gently from the ceiling of the vehicle by pulling it towards you.

    • If it is too tight to get your fingers in the space, use an opening tool to pry the console away from the ceiling of the car.

    • Don't yank the console away from the opening as it is attached by connectors.

  4. uDUTKKLjawXeFXdv
    uDUTKKLjawXeFXdv
    RuwRDUEvA41p2Kkh
    1FAoFFPd24BmXHU3
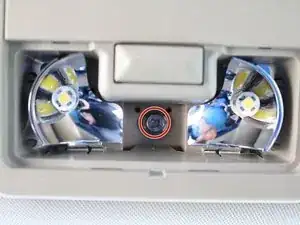
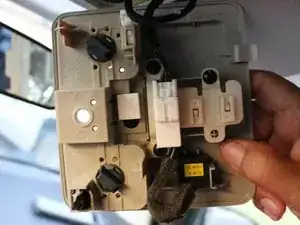
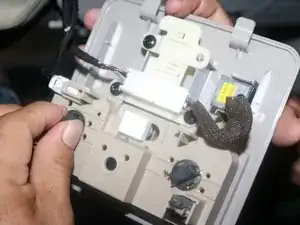
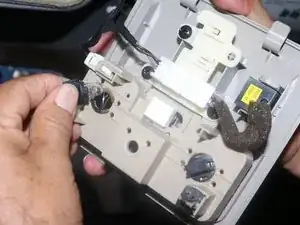
    • Rotate the bulb clip counterclockwise until it's loose to remove it from the console.

  5. EAxNLjXQFuPn1xsY
    EAxNLjXQFuPn1xsY
    WAQuOnyWMQmEuCoT
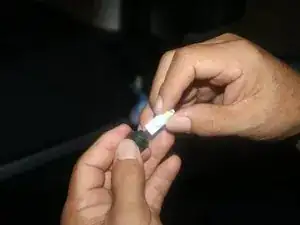
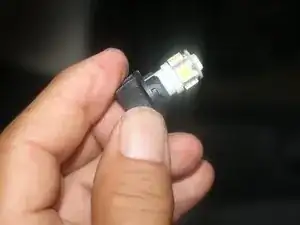
    • Gently pull the old lightbulb out of the clip.

    • Replace it with the bulb by gently pushing it in.

    • Avoid touching the bulb glass with bare hands as the oils and salts from your hands can damage the bulb and reduce the lifespan of the bulb.

  6. 3lcGUjv3ErLqtJtF
    3lcGUjv3ErLqtJtF
    TnCC4IVWdKDowqyd
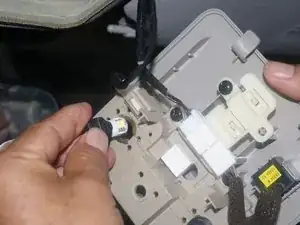
    • Put the bulb clip back into console and turn it clockwise to secure it in place.

    • Repeat steps 4-6 afterwards for the other bulb.

  7. 3pShLTmvPvh5tcdp
    3pShLTmvPvh5tcdp
    dEUZqIHwpK4gCkWZ
    • Once you have repeated the same steps for the other bulb, gently place console back into its spot in the vehicle by pushing it in.

    • To ensure it is placed correctly, you should hear a small click when placing the console back into the vehicle.

  8. tjHqRJMYtRbVKuZ5
    • Make sure to test that the lights are working.

    • Once you have done that, put the 19.1 mm screw back in place with the Phillips #2 screwdriver.

  9. tJeZTpyOtJorRSsv
    tJeZTpyOtJorRSsv
    uGgEQxFViILEfhC5
    • Gently place the lens back into the console.

    • You should hear a "click" when the lens is placed securely in the console.

Conclusion

If all goes well, your car now has new bright map lights and you will now have the knowledge to perform future map light replacements for your 2012 Nissan Sentra. If this knowledge is forgotten, our guide will help provide you with proper instructions and indications on how to replace your map lights again. If you know of anyone with this model of car, and they need a replacement of their map lights, send this guide their way in order to assist them in the process of replacing their map lights. Like iFixit says, "if you can't fix it, you don't own it."
Briana Ruiz

Member since: 29/08/23

199 Reputation

0 comments