Introduction
Experts recommend the cabin air filter of cars to be replaced to help your car’s HVAC system perform efficiently. Instead of being charged by a third party, practically anyone can perform this routine maintenance easily and learn more about their car in the process.
There are no hazards or special requirements other than the needs tool and part.
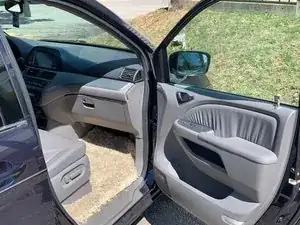
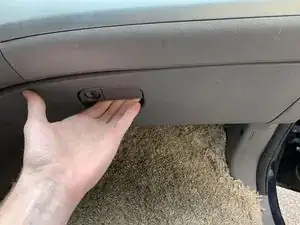
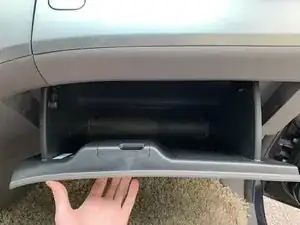
The goal of this guide is to help users to change the cabin air filter in a 2005-2010 Honda Odyssey. This fix will accomplish locating the glovebox, removing the hinges, locating the air filter, replacement, and reassembly.
No special skills are required and the average person may complete this in 15 minutes.
Tools
Parts
-
-
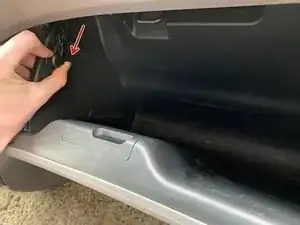
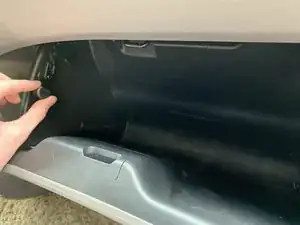
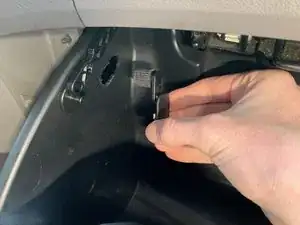
Remove the cover of the dampener on the upper left-hand side (facing the glovebox) by pulling the semi-circular piece towards your body.
-
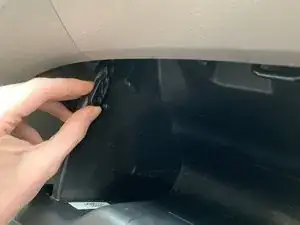
Pull the actual hinge outward and off of the cylindrical piece to which it was hooked.
-
-
-
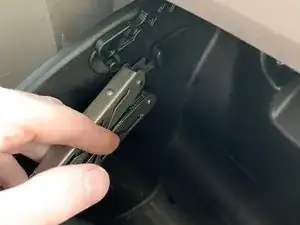
The stoppers are snapped in place with plastic at the top left and right side of the glovebox. Use a flathead screw driver to unsnap these hinges from their place.
-
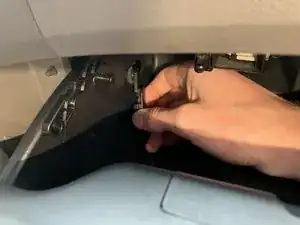
Using one hand, push the glovebox slightly closed to create space. Using the other hand, rotate the piece and pull outward (perpendicular from the wall of the glovebox) until the hinge comes free.
-
Repeat for both stoppers on each side.
-
-
-
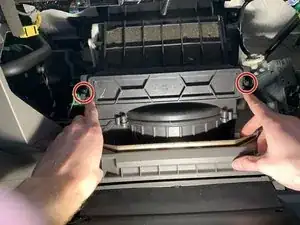
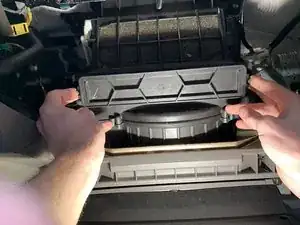
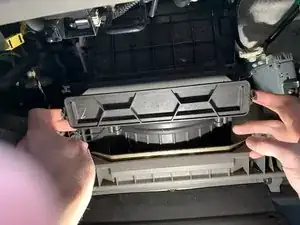
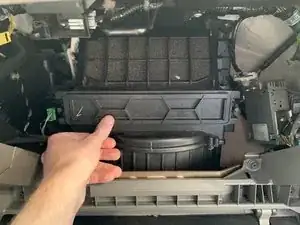
Press inward on the two plastic pieces on each side of the air filter and pull towards yourself for removal.
-
-
-
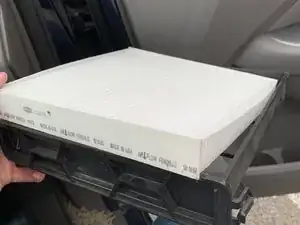
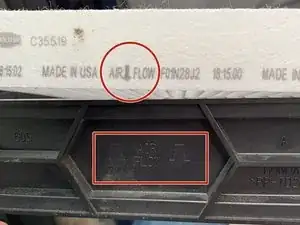
Remove the old air filter and replace it with the new air filter. There will be an arrow to point in the direction of "air flow". Make sure these arrows match on both the container and the filter.
-
To reassemble your device, follow these instructions in reverse order.
