Introduction
Recommendations are to replace the cabin air filter every year, or every 10,000 miles, whichever comes earlier. Depending upon your locale, you may wish to replace it after pollen season, or more frequently. When you see how easy this procedure is, you won't want to postpone this. Some dealers charge up to $60 for this service, which takes an experienced tech barely 10 minutes. That's a remarkable profit.
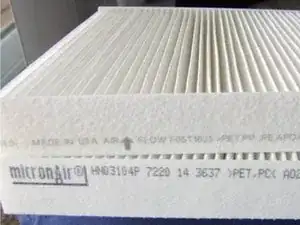
The OEM filter is made by micronAir, either overseas or in the USA. (Note: the 2006 Honda Accord air mixer/blower uses the very same filter, so you can buy one at a Honda dealer versus an Acura dealer. You may find a drastic difference in price.) Is there a difference? None that I can tell. Fram, Bosch, Purolater, and others make suitable aftermarket filters. Is there a difference? Some minor differences, but this is a consumable, or a part that is regularly replaced for dirt buildup, so change it as often as you like.
Parts
-
-
Open the glove box and empty it of all contents.
-
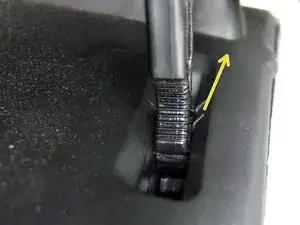
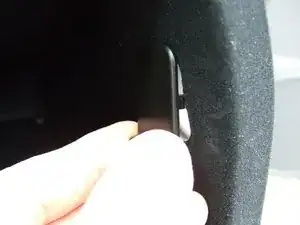
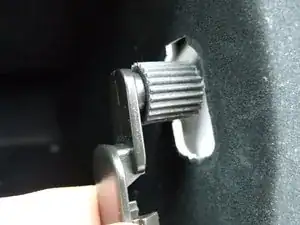
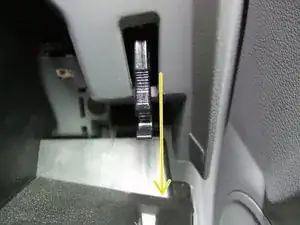
Release the glove box damper assy arm on the right side of the glovebox by pushing gently forwards towards the engine. The "C" latch will release from a pin, and the end of the arm will lift out of the opening.
-
-
-
Open the glove box and then close it about an inch.
-
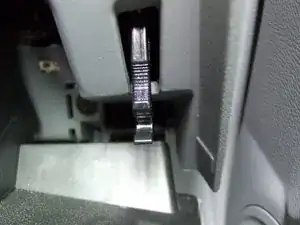
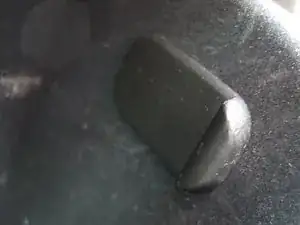
Reach into the upper right side and also feel on the outer right side of the glove box. When you feel a flat flange on the interior of the box, you've identified the glove box stopper arm (p/n 77508-sx0-000).
-
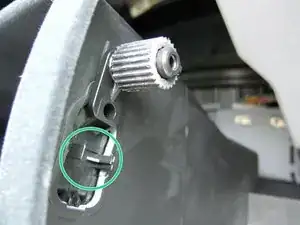
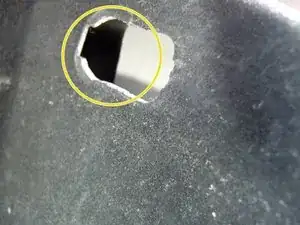
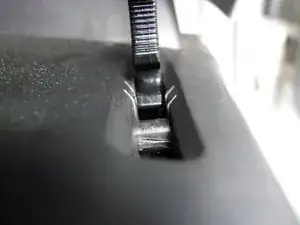
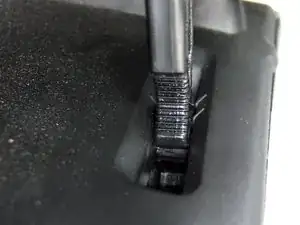
From the outside of the box, gently push in on the flange. As you can see from the illustration, there are little tabs that hold it in. Slowly push the flange into the box to unsnap it.
-
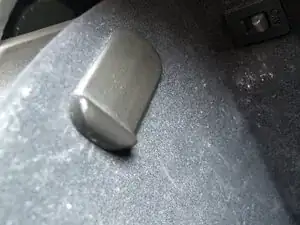
With the stopper arm now loose, close the box a little further, and simultaneously pull the stop down in the hole, then pivot into the box. The rubber stopper (p/n 66417-sa0-000) will slide through the hole and the entire stopper arm comes free into the glove box interior.
-
Repeat for the corresponding stopper arm on the left side.
-
-
-
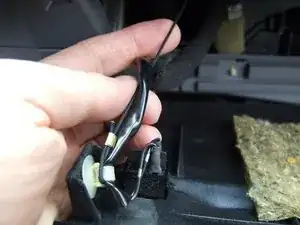
Gently, very gently, lower the glove box. There is a nylon cord that will support the glove box in a lowered position. If that cord isn't present, lower the glove box onto your knee(s).
-
-
-
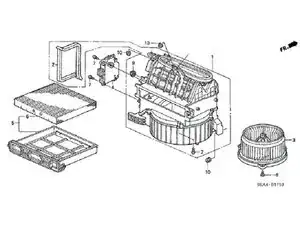
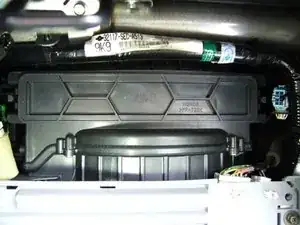
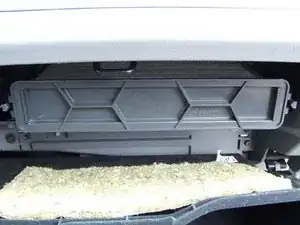
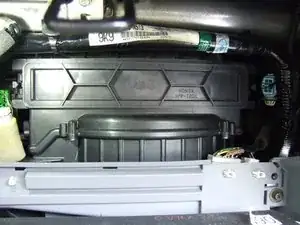
With the glove box now lowered, the heater blower unit is visible. At the top of the blower is the air filter tray.
-
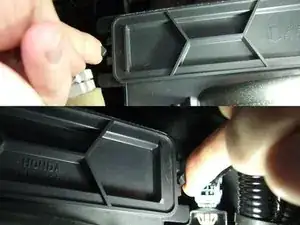
The air filter tray is held in by two locking tabs on the front left and front right. Reach in and press these tabs in towards the center.
-
Gently slide out the tray. Use care not to snag on the nylon support cord or surrounding wiring.
-
-
-
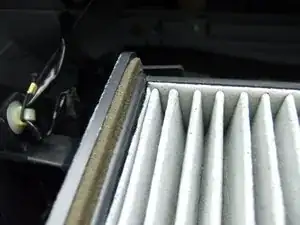
With the tray removed, take out the old filter.
-
Note the intended air flow through the filter. The air flow in the heater blower is from top to bottom (down). The tray should have an indicating mark.
-
Insert the new filter into the tray. The rigid sides of the filter (with printing) go to the left and right side of the tray.
-
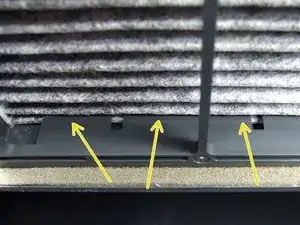
When inserting the new filter, note the retaining tabs inside the tray that the last vanes of the filter fit into, on both ends. This ensures that the filter has a near-airtight seal in the tray.
-
-
-
Slide the filter tray back into the heater blower the same way it was removed. The left and right locking tabs should snap into place when it's fully inserted.
-
-
-
Reinstall the left and right glove box stopper arms just as they were removed. Close the glove box so that when the stops are reinserted into the holes, the rubber stops are above the dashboard fascia. Slide the stops upwards in the holes so that the tabs on the flanges snap into the glove box holes.
-
-
-
Lift the glove box closed and slowly pull the pneumatic arm down to the notch in the glove box door. Don't pull it faster than it wants to descend! From the rear of the notch in the glove box(towards the engine), snap the "C" clasp back on to the pin in the notch.
-
Put your belongings back into glove box and close. You're done!
-
