Introduction

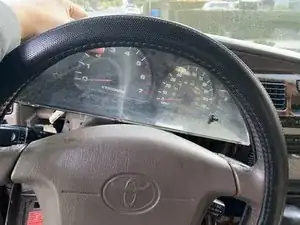
This is a guide to replacing the light bulb on the dashboard of a 2000 Toyota 4Runner. After replacing the light bulbs they will need to be recycled. Replacing the dashboard light bulbs there gives the driver a better visual of the warning light or driving at night time.

  1. i1nKbdRJ6siRpnui
    i1nKbdRJ6siRpnui
    VdUbFmTqUxYHuCRp
    sZG5TYLoDPyoO4J3
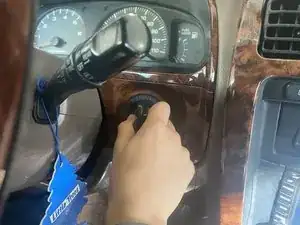
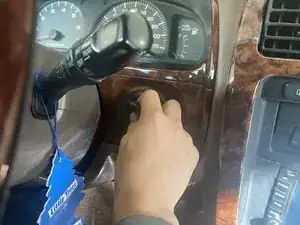
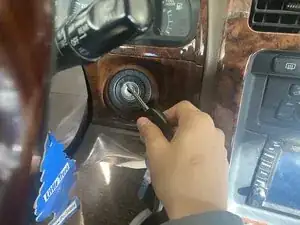
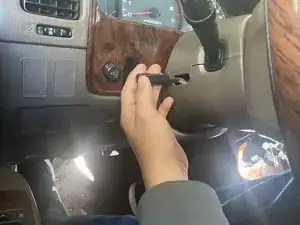
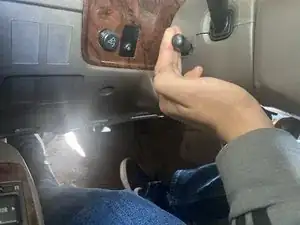
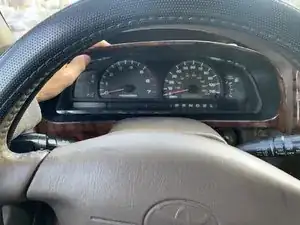
    • Remove the car key from the ignition so there isn't a current running through the car while working on it and to have more room.

  2. PktXOSTUAf3WSKi2
    PktXOSTUAf3WSKi2
    UcxMAEBW2OMI3pit
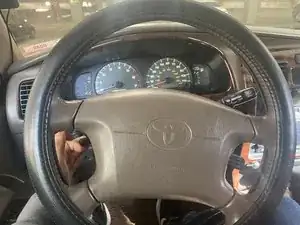
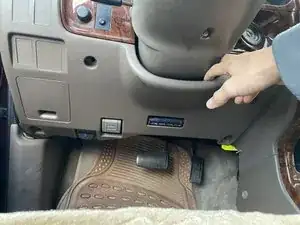
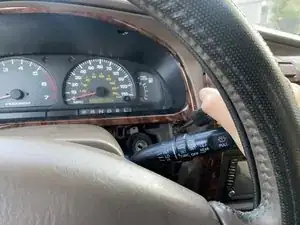
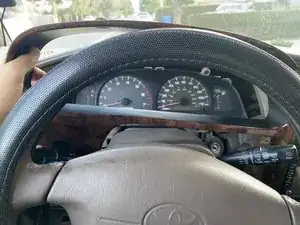
    • On the left side of the steering column, there is a lever that, by pulling forward, allows you to adjust the steering wheel's position.

  3. QqFOSi4myGSkgXIT
    QqFOSi4myGSkgXIT
    env3RZDA1hMbxHST
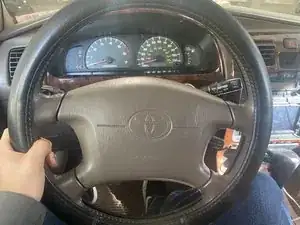
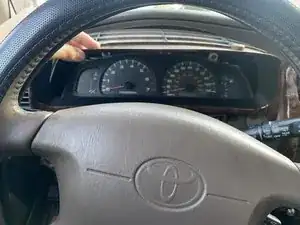
    • Pull the lever on the left side of the steering column while moving the steering wheel up or down to make some room.

  4. MCLngPZbsGuKSHOe
    MCLngPZbsGuKSHOe
    2NkyZ4fSLnvMUvw2
    IhZljYL5LCNeCv2E
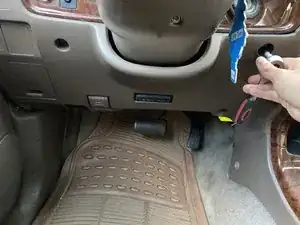
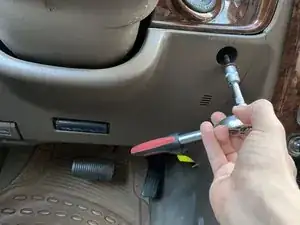
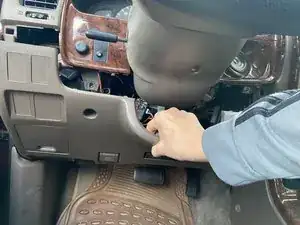
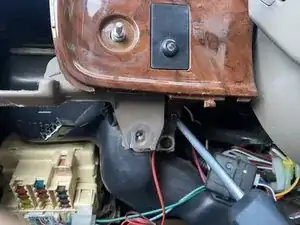
    • Use a 10 mm socket on a ratchet wrench to remove the two 10 mm bolts near the steering column.

  5. EGhEkxTHrkHRvTWf
    EGhEkxTHrkHRvTWf
    iDaExAgHeOKb2yRH
    NMo5I1PHUAKOULvB
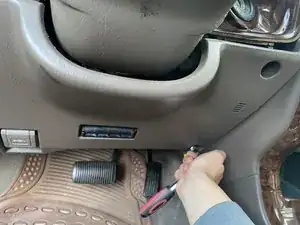
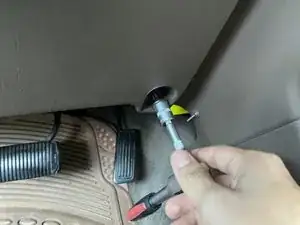
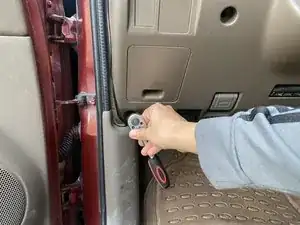
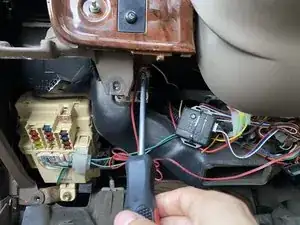
    • Remove the other two 10 mm bolts that are closer to the pedals.

    • When removing the 10 mm bolt on the bottom left corner, it will be easier to open the car door to reach it.

  6. JVULZGcOmHIvJwHZ
    JVULZGcOmHIvJwHZ
    dSjI2qZ5SOrDumEV
    TBScq2DtGJwyFayJ
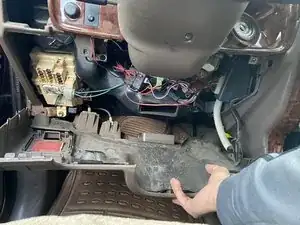
    • Gently pull the cover downwards.

    • Gently rest the cover on the floorboard so that the wires and cables don't get damaged.

  7. pVFCQTVYZFFDUI2H
    pVFCQTVYZFFDUI2H
    l2DQKgMpVokMonpi
    UFNFQVDuHDlWaQXg
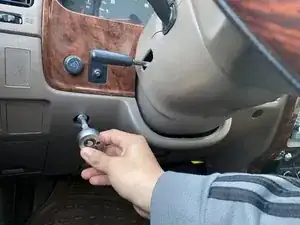
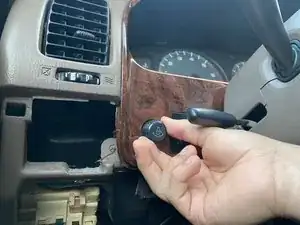
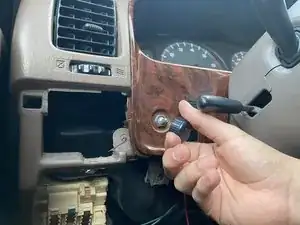
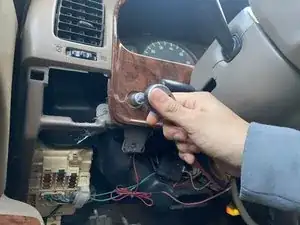
    • Grab onto the light-dimmer cap on the left side of the steering and gently pull it out.

    • Use a 12 mm socket to remove the 12 mm nut holding the dimmer switch in place.

  8. fUlBSaxjDFwSwMni
    fUlBSaxjDFwSwMni
    i26wUL31aQaUPPD6
    PmqkwbOiGDnwpeQF
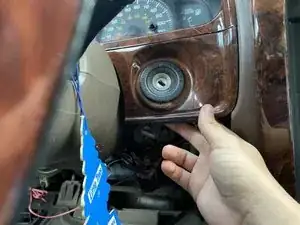
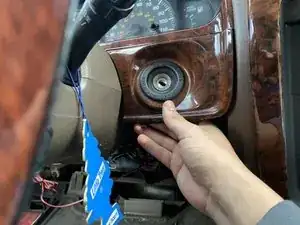
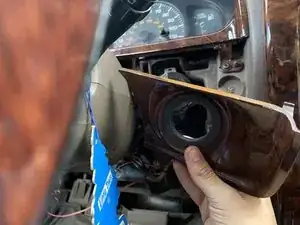
    • On the right side of the steering column, grab onto the ignition cover and pull on it gently to take it off.

    • The trim piece may break if pulled too forcefully.

  9. SSXvKOlxmEpTisZT
    SSXvKOlxmEpTisZT
    4bYmLWNVDa1YhcYS
    jNb4qYHJGcaDjqQM
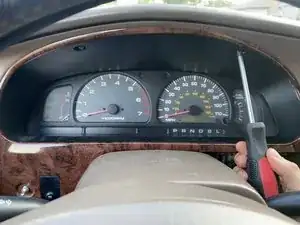
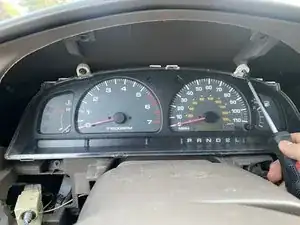
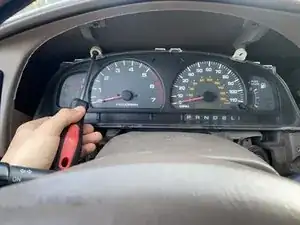
    • Use a screwdriver to remove the two 1/2 inch screws from the bottom part of the gauge cluster trim piece.

  10. gW1ihu3uqo3RTaJU
    gW1ihu3uqo3RTaJU
    Oiger4b2XgS6bLiB
    oK5JBmrxKCmVxBOT
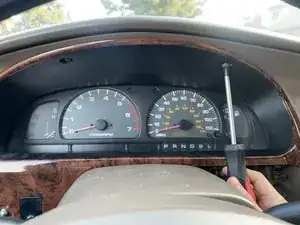
    • Remove the two top 1/2 inch screws of the trim piece.

  11. XiM2D2FE1OMX26j1
    XiM2D2FE1OMX26j1
    1dpKuqa1cvbpnNbr
    aCB5jbAIZoASJE2X
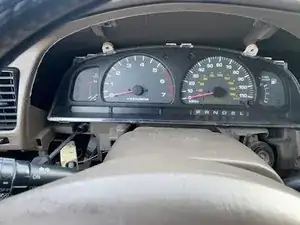
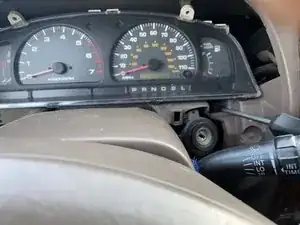
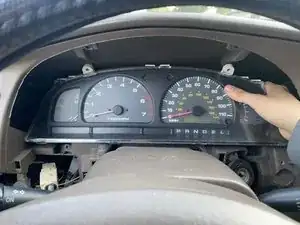
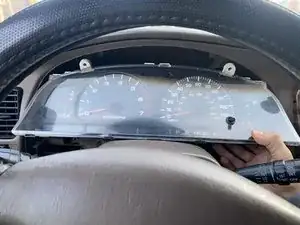
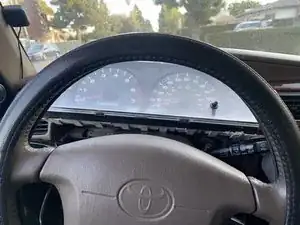
    • Grab onto the gauge cluster trim and remove it.

  12. MWxHWkMBAoTEKF3C
    MWxHWkMBAoTEKF3C
    QbrrdQcbB6tpVhqe
    226sAqg4iRRKo2FK
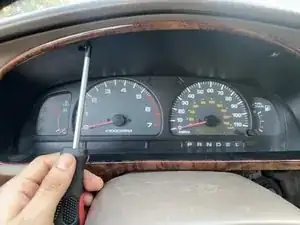
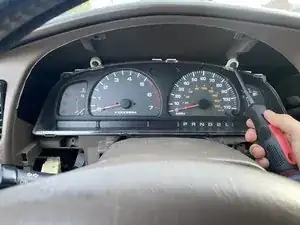
    • Use the screwdriver to remove the two top 1/2-inch screws that hold the gauge cluster in place.

  13. MgrkdYVlk11qqyAq
    MgrkdYVlk11qqyAq
    tGTYuhWD63dZj5ox
    • Unscrew the bottom two 1/2 inch screws that hold in the gauge cluster.

  14. LeVlenrWvSGdF1tt
    LeVlenrWvSGdF1tt
    WNlb4ouYJJPvMSWS
    • Grab onto the gauge cluster once all four screws have been removed and pull it forward to be able to reach the connection on the backside.

    • Pulling too hard may damage the connection in to the back of gauge cluster.

  15. nXRx2hkfYfvHUfR1
    nXRx2hkfYfvHUfR1
    54rKnCWxyvaItjon
    TeGEPIbpmH2NqDXy
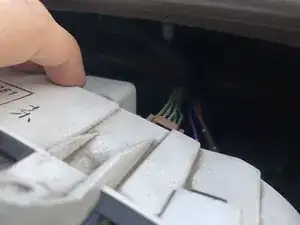
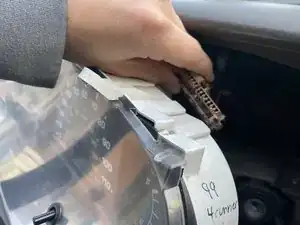
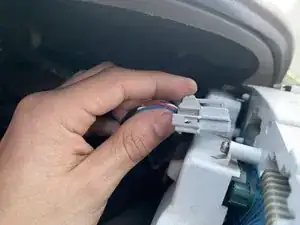
    • On the right side of the gauge cluster, there is one brown connection that needs to be disconnected.

  16. 1F5J26rxbnhlApGn
    1F5J26rxbnhlApGn
    2FBp1uTXkSju1Wb5
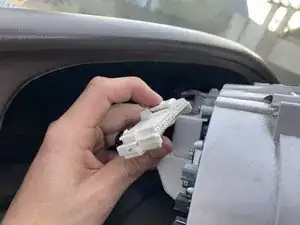
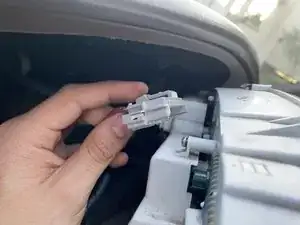
    • On the left side of the gauge cluster, there is one white connection that needs to be disconnected.

  17. gcC5Tg2vTEy5uKYp
    gcC5Tg2vTEy5uKYp
    UrTI5WmemTnbdI31
    fGisdsQRJ6KkVlcJ
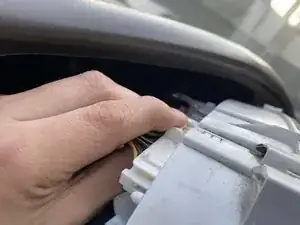
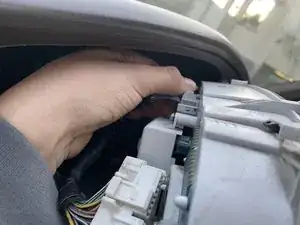
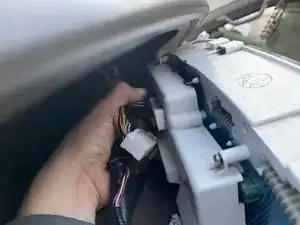
    • In the middle of the gauge cluster, there is one white connection that is closer to the left side that needs to be disconnected.

  18. bi6Jsuq1yOPAgk6S
    bi6Jsuq1yOPAgk6S
    V3rfWWXFBsgBfsQS
    SUlMyv52JKSPEGS5
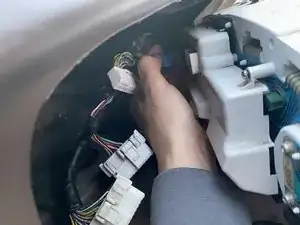
    • In the middle of the gauge cluster, there is one blue connection that is closer to the right side that needs to be disconnected.

    • Remove the gauge cluster from the dashboard.

  19. HBMla3FKIiUhDJwB
    HBMla3FKIiUhDJwB
    oaJoH6VEncrW4CoI
    xJSGYHZJKC1yhySW
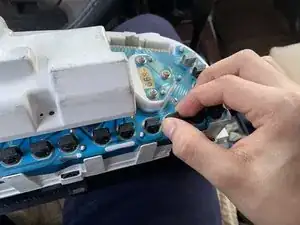
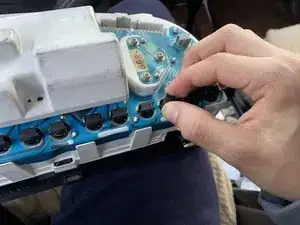
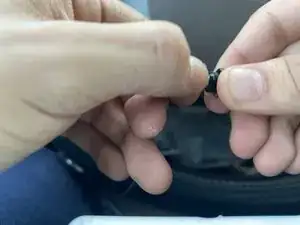
    • Grab onto the light bulb housing and turn it counter-clockwise until it clicks out of place.

    • Remove from the back of the gauge cluster.

  20. DxMIyIHFRdMWWfqi
    DxMIyIHFRdMWWfqi
    2w6eodmS61HHXQIV
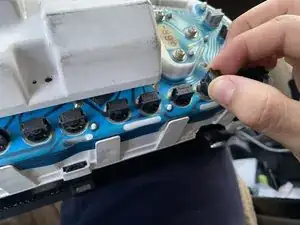
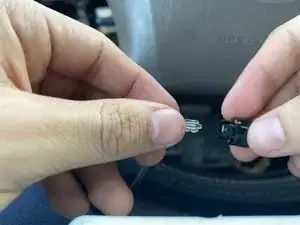
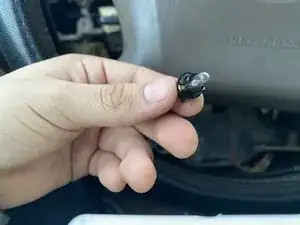
    • Grab onto the 74 fluorescent light bulb and pull it out of the housing.

  21. qmBMdiAo1JDc23ar
    qmBMdiAo1JDc23ar
    N1GFcFTGkaCKPMwN
    AdbaChvOJeGWmPXO
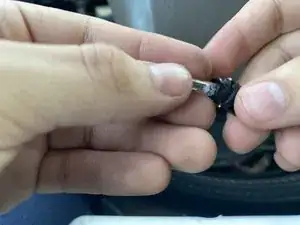
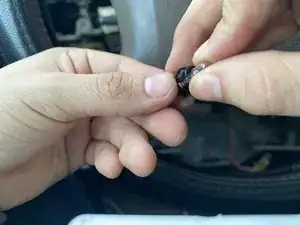
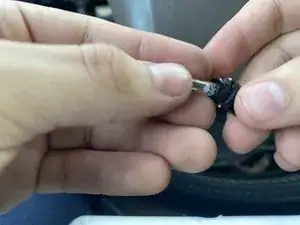
    • Grab a new 74 fluorescent light bulb and push back into the housing.

    • If you decide to replace the light bulbs with LED bulbs instead of fluorescent then you will have to test the connection by plugging in the connections and turning the key to the run position.

    • LED bulbs only function if they are in a certain orientation so just pull out the housing turn 180 degrees and test it again.

Conclusion

To reassemble your device, follow these instructions in reverse order.
Mauricio Castro

Member since: 25/10/23

313 Reputation

0 comments