Introduction
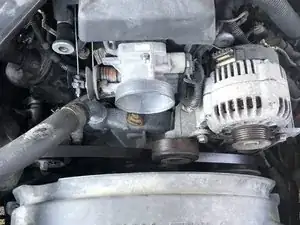
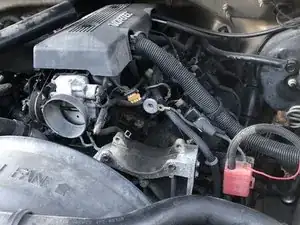
This guide will demonstrate how to replace an alternator in any GMC Sierra made from 1999 to 2007. Although the guide will be demonstrated on my 1999 Sierra, you can use the same procedure for any GM truck or SUV that uses a Vortec V8 engine.
Tools
Parts
-
-
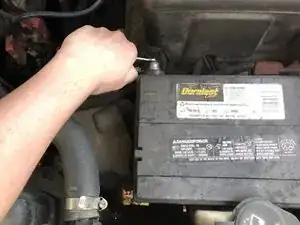
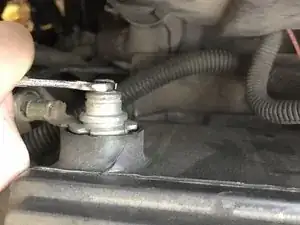
Using an 8mm wrench, disconnect the negative battery terminal. This is the one on the right (closest to the engine).
-
-
-
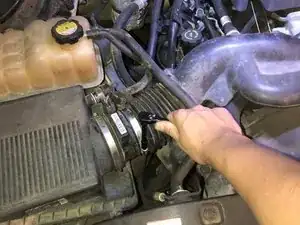
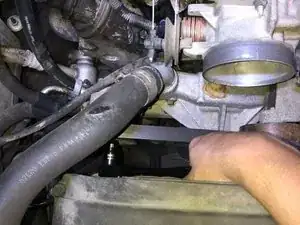
Loosen the hose clamps on the factory intake tube with an 8mm socket and remove the intake tube. One hose clamp will be located at the port of the intake manifold and one will be near the factory air box.
-
-
-
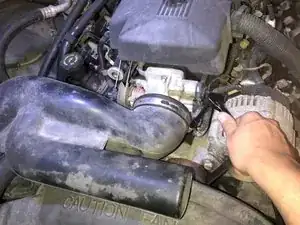
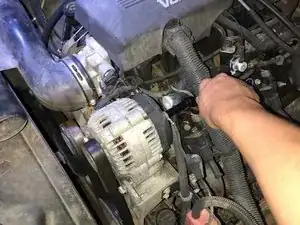
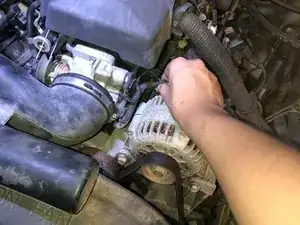
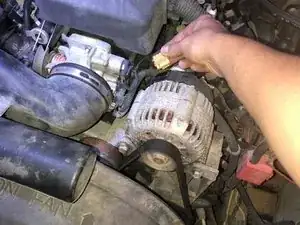
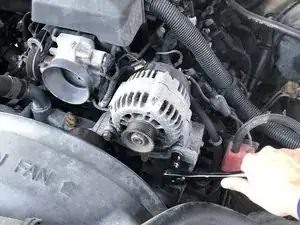
Remove the black wire from the back of the alternator using a 10mm socket and disconnect the voltage sensor. For the Voltage sensor, depress the tab towards the base of the sensor and pull outwards.
-
-
-
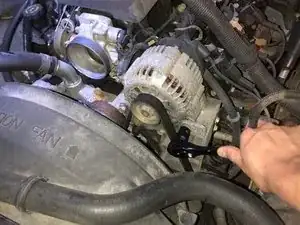
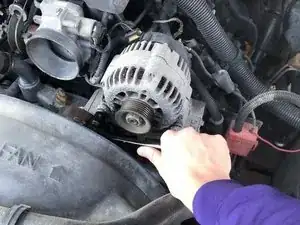
Using a 15mm socket on a half inch socket wrench, loosen the belt tensioner by pushing downwards. The tensioner is spring loaded so you will need to use your free hand to remove the serpentine belt.
-
-
-
Using a 16mm socket, remove both alternator mounting bolts and remove the alternator. These will be located at the base of the alternator. You may need a crowbar to remove the alternator from the mounting bracket because the mounting points often rust.
-
To reassemble your device, follow these instructions in reverse order.
One comment
Good overview
C S F -
