
Introduction
This guide is applicable for any Accord made between 1998 and 2002.
-
-
Use a 10 mm wrench to disconnect the negative battery terminal, followed by the positive terminal.
-
-
-
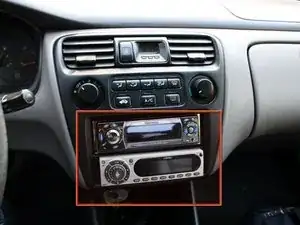
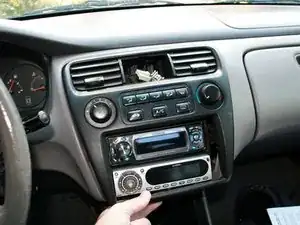
Note that the dash has been taken apart before, namely to install all those fancy gizmos you see in this picture.
-
-
-
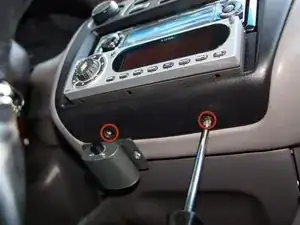
Use a #2 Philips screwdriver to remove the two screws holding the center of the dashboard in place.
-
-
-
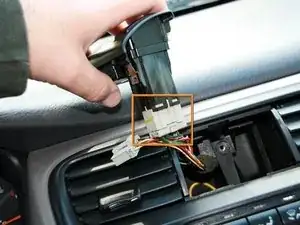
Gently insert a spudger or flathead screwdriver directly underneath the clock, just enough so you can pry out the clock. Perhaps a half inch or so will do it.
-
-
-
Slide the clock out to expose a sole Phillips screw.
-
Remove the screw using your Phillips #2 screwdriver.
-
-
-
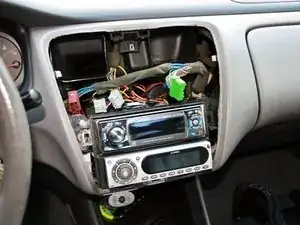
Unplug the smaller connector first. There's a tab on top of the connector that you have to push downwards, then pull the connector. Make sure to grasp the connector itself, and not the wires.
-
Do the same with the larger connector. Again, there's a tab on top that needs to be pushed downward.
-
-
-
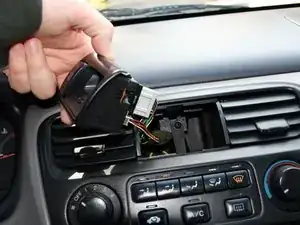
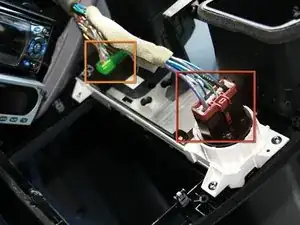
Now, gently pull the bottom of the center console towards you. Don't yank it out, there's two more connectors holding it in place.
-
-
-
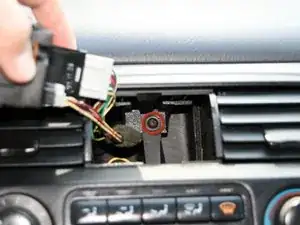
First take off the red connector. Just like before, there's a tab on top of the connector that you have to push downwards first.
-
Follow suit with the green connector.
-
Center dash can now be fully removed.
-


To reassemble your device, follow these instructions in reverse order.

4 comments
Excellent Instructions. Toughest part is prying off the panel once you remove the screws and clock. The power connectors to the controls, (Hazards, Clock, Climate Control) can be a little tough too, wiggling helped.
Jason -
My car radio is deactivated
I need the inside lighting fixture on the front top of the dash