Introduction
Recently I installed a pair of Infinity Kappa 10.9t tweeters in my Honda Accord Dx.
The Dx model is notable for having only two speakers stock. Aftermarket rears were already installed years ago, but I wanted to get a bit more sound from up front.
-
-
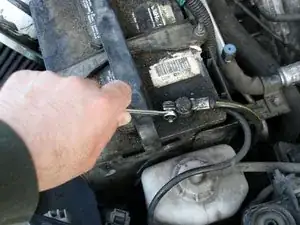
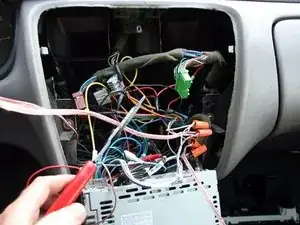
Use a 10 mm wrench to disconnect the negative battery terminal, followed by the positive terminal.
-
-
-
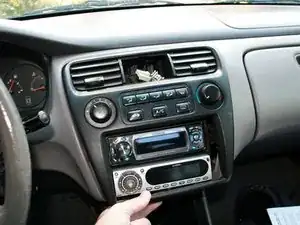
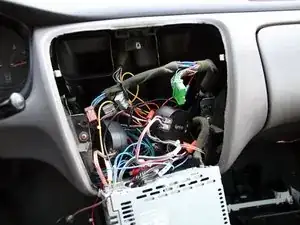
Note that the dash has been taken apart before, namely to install all those fancy gizmos you see in this picture.
-
-
-
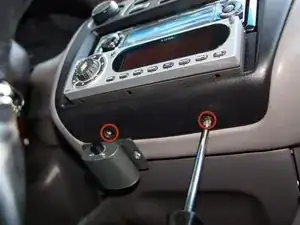
Use a #2 Philips screwdriver to remove the two screws holding the center of the dashboard in place.
-
-
-
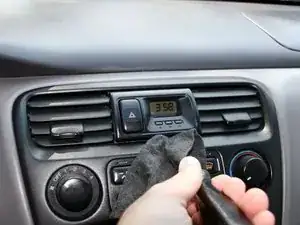
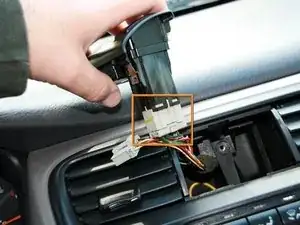
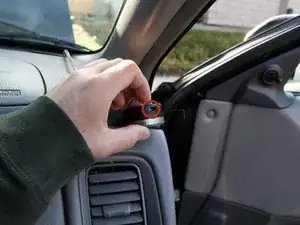
Gently insert a spudger or flathead screwdriver directly underneath the clock, just enough so you can pry out the clock. Perhaps a half inch or so will do it.
-
-
-
Slide the clock out to expose a sole Phillips screw.
-
Remove the screw using your Phillips #2 screwdriver.
-
-
-
Unplug the smaller connector first. There's a tab on top of the connector that you have to push downwards, then pull the connector. Make sure to grasp the connector itself, and not the wires.
-
Do the same with the larger connector. Again, there's a tab on top that needs to be pushed downward.
-
-
-
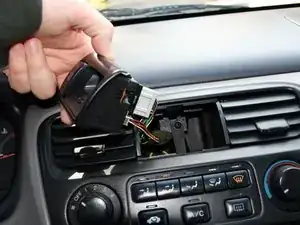
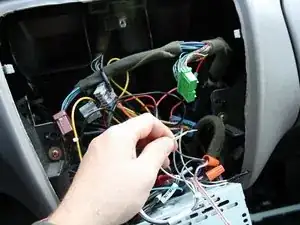
Now, gently pull the bottom of the center console towards you. Don't yank it out, there's two more connectors holding it in place.
-
-
-
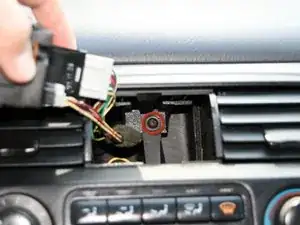
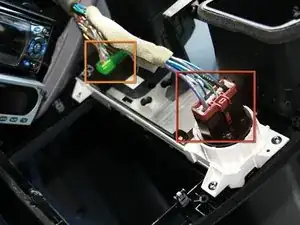
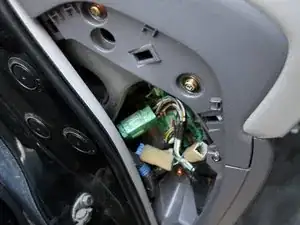
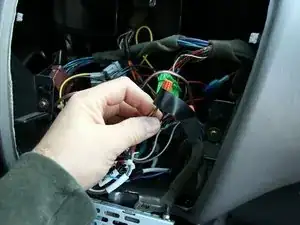
First take off the red connector. Just like before, there's a tab on top of the connector that you have to push downwards first.
-
Follow suit with the green connector.
-
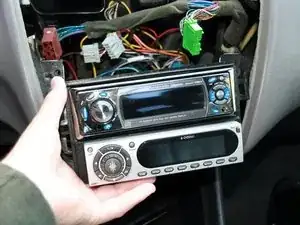
Center dash can now be fully removed.
-
-
-
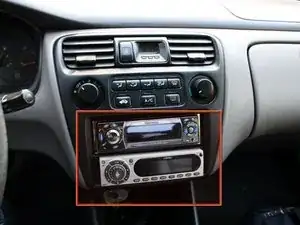
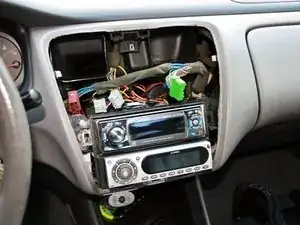
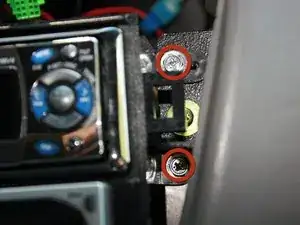
Remove the four screws (two on each side) holding the double-DIN stereo frame in place using a #2 JIS screwdriver or 8mm socket wrench.
-
-
-
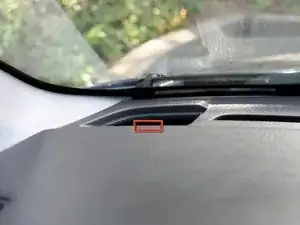
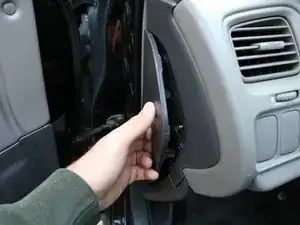
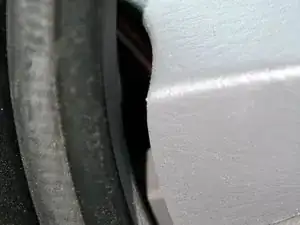
There is a small notch on the cover, approximately located by the red box, under which you should insert a flathead screwdriver.
-
Twist the flathead screwdriver until the cover pops upwards, then work at it from each side if necessary.
-
-
-
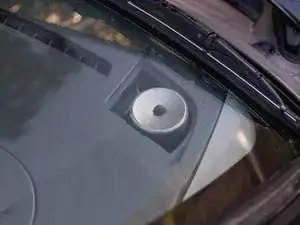
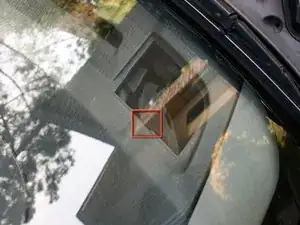
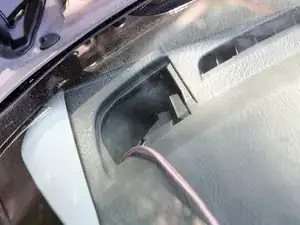
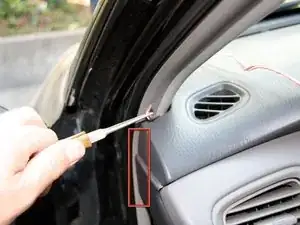
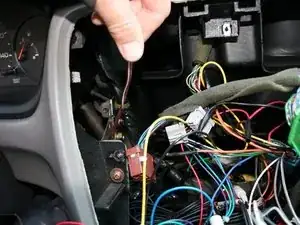
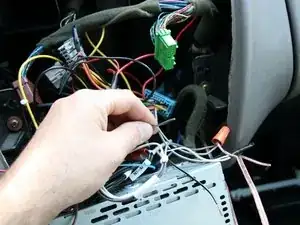
Keep inserting and moving the wire until you are able to see it in the small crack between the door frame and the dash.
-
-
-
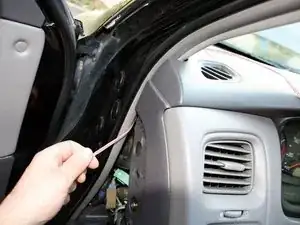
Use a very thin pair of needle-nose pliers to pull the wire out of the crevice.
-
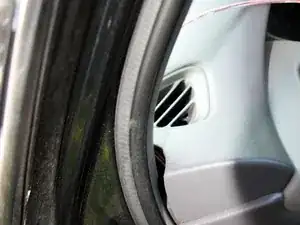
Pull out approximately a foot of wire.
-
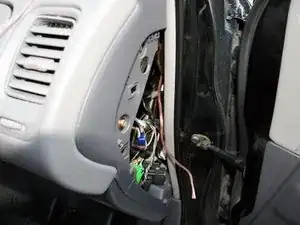
Then, route the wire along the edge of the dashboard / door frame, so that it ends up in the side panel below.
-
-
-
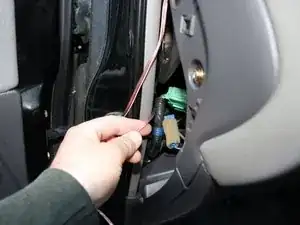
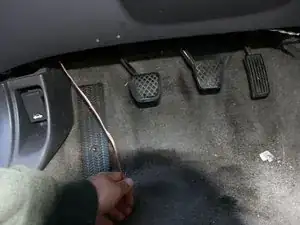
Now, start routing the wire from the side panel to the bottom of the dash.
-
Pull out enough wire near your pedals so that you have enough length to reach your stereo head unit.
-
-
-
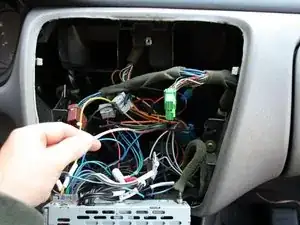
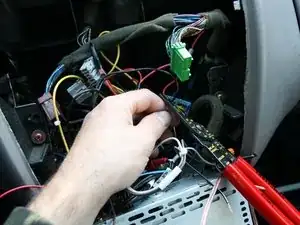
Dig deep through your center dash (while being careful not to snag your hand on any of the wiring) and pull out the speaker wire you were routing.
-
-
-
Perform the same speaker wire routing on the passenger side. The procedure should be very similar.
-
-
-
Now for the fun part: cutting some wires...
-
Locate the Left/Front and the Right/Front speaker cables coming out of the radio. There should be two wires for each speaker cable, a Positive and a Negative.
-
Use a pair of wire cutters to snip-snip those two cables. Don't cut too close to the radio -- make sure that you leave enough length to strip the wire and reconnect it in the following steps.
-
-
-
Use a pair of wire cutters/strippers to strip a portion of the both the tweeter speaker wires, as well as the speaker wires you just cut on the stereo side.
-
-
-
Take the Left/Front/Positive wire coming out of the radio and twist it together with the same wire going to the tweeter, as well as the one going to the front speaker.
-
Then, use a wire cap to secure the wires together. Wrap the wire cap and wires with electrical tape.
-
Do the same for the Left/Front/Negative, as well as the Right/Front/Positive and Right/Front/Negative wires.
-
-
-
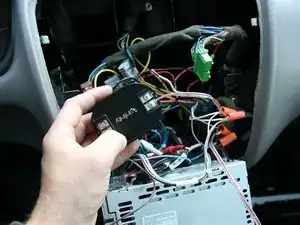
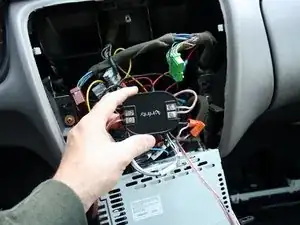
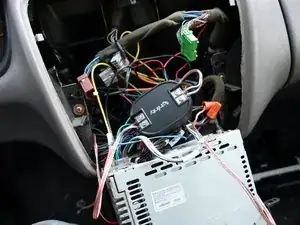
Now, to install the speaker crossovers...
-
Cut the tweeter wires and strip them, just like before.
-
-
-
Insert the cut/stripped speaker wires on each side and use a Philips #2 screwdriver to secure them in place.
-
-
-
Insert the routed speaker wire into the tweeter.
-
Use the Infinity-supplied hex wrench to secure the wire in place.
-
-
-
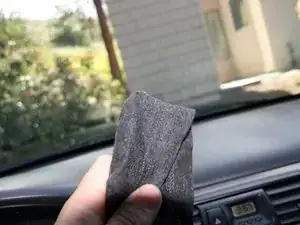
Use a piece of cloth to secure the tweeters inside the hole. It will prevent them from rattling around.
-
Reconnect the car battery and turn on your favorite tunes. Use the fader to switch left-to-right as well as front-to-back and ensure all speakers are functioning correctly.
-
Adjust your fader. There's much more sound coming from the front of the car after installation.
-


To reassemble your device, follow these instructions in reverse order.