
Introduction
Replace a shattered or fogged headlight unit in your '98-'02 Honda Accord.
-
-
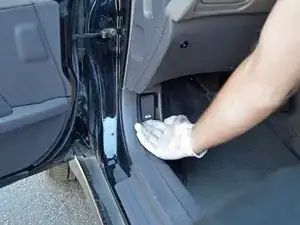
Pull on the hood release lever just inside the passenger door to pop the hood.
-
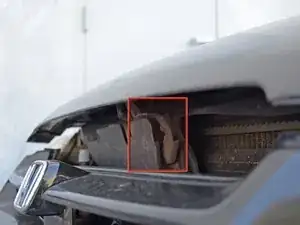
Locate the hood release latch under the hood. Use one hand to press up on the latch while you lift the hood.
-
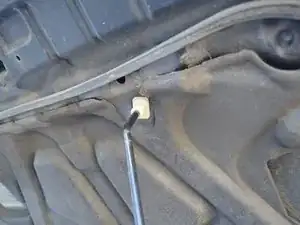
Insert the hood prop rod into the hole in the hood marked with an arrow.
-
-
-
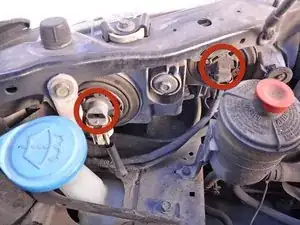
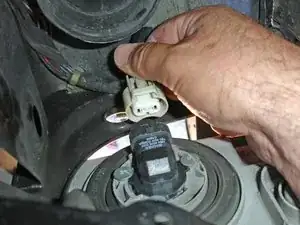
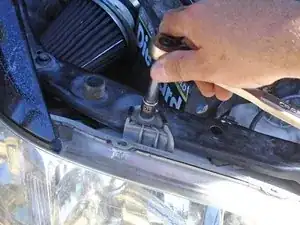
Locate the head light bulbs and connectors directly behind the headlights and on either side of the engine bay.
-
Detach the head light connectors by pushing on the lever on the top of the connector and pulling it straight down.
-
-
-
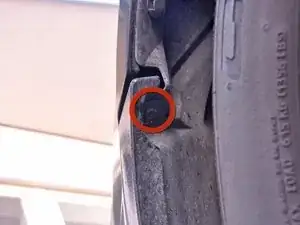
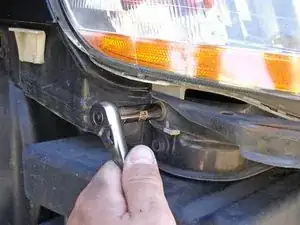
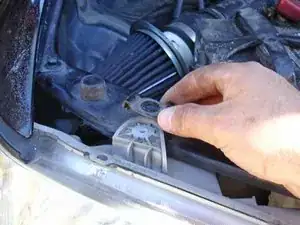
Locate and remove the bolts in the front of the wheel well on the either side of the car using a #1 Phillips screw driver or an 8 mm socket wrench.
-
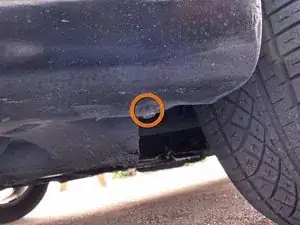
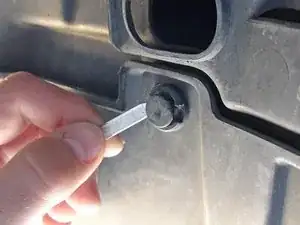
Locate the bolts on the bottom of both corners of the bumper and remove them using an 8 mm socket wrench or box end wrench.
-
-
-
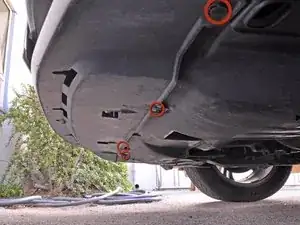
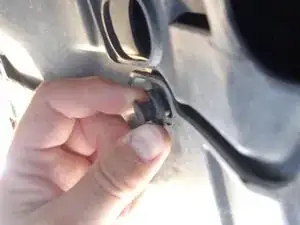
Locate the plastic push pins along the bottom of the bumper.
-
Use a small thin prying device, such as a flathead screwdriver, to pop the heads of the push pin up. Then remove the entire push pin assembly from their holes.
-
-
-
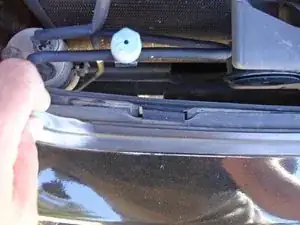
Remove the push pins on the two raised portions of the bumper next to the inside of the headlights.
-
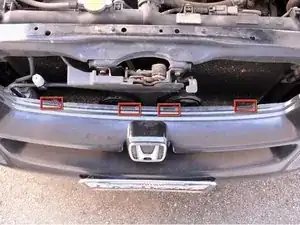
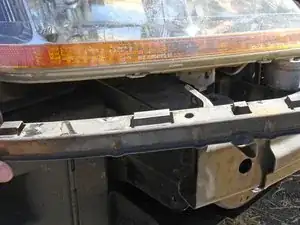
There are four clips along the top of the bumper still holding it in place. Gently lift the bumper while pulling it away from the car to free the clips and remove the bumper.
-
-
-
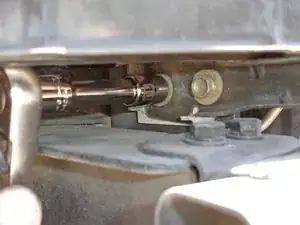
Remove the three 10 mm hex bolts securing the headlight bracket by turning them counter-clockwise with either a socket wrench or box end wrench,
-
Remove the headlight bracket by pulling it straight out.
-
-
-
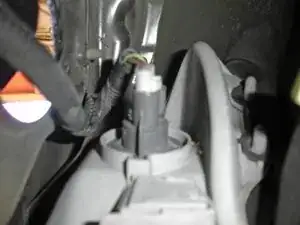
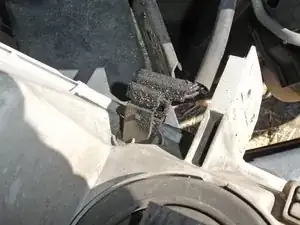
Locate the blinker light bulb assembly, it will be accessible from below the headlight, near the wheel well.
-
Disconnect the connector or remove the light bulb assembly by turning it counter-clockwise and pulling it out.
-
-
-
Remove the 10 mm bolt on top of the headlight using a socket wrench or box end wrench.
-
Remove the metal clip.
-
Pull the headlight straight away from the car.
-
-
-
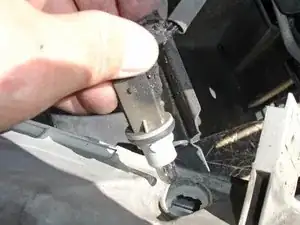
Locate the front marker light connector. It is along the bottom of the headlight.
-
Turn the marker light counterclockwise and remove it from the headlight.
-

To reassemble your device, follow these instructions in reverse order.

6 comments
On a '98 Honda accord ex, you can get to Step 2 and just change the lights.
i have a 1999 honda accord LX coupe, this guide is more difficult to follow, you can just go in with your bare hands to replace the marker light, you DO NOT HAVE TO REMOVE THE BUMPER! just reach down till you find it and twist it out and replace and put it back, this guide made it sound harder then it was, but its pretty easy. You will need the right bulb of course, but its so easy to replace then removing the entire bumper.
dlbroere -
He was explaining how to replace the entire lens or headlight assembly not just a single headlight.
This is for actually replacing the glass part of headlight, not just the bulb!
Gary Mac -
Como puedo resolver que las luces permanentes traseras y la pizarra no encienden todas las demás prenden
Yoan -