Introduction
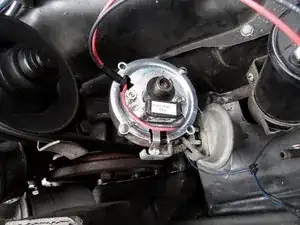
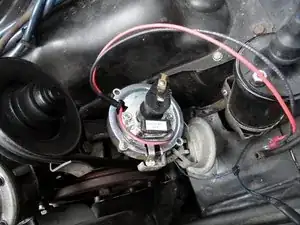
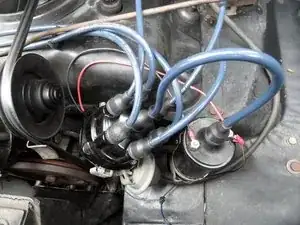
Electronic ignition units are a simple way to improve the overall performance of your Corvair. They minimize how often the timing must be checked, and the need for adjusting and replacing points, which can be a tedious task. Along with less maintenance, electronic ignition units provide a more powerful spark and increase engine power, especially at low RPM's.
Tools
Parts
-
-
First, open the box containing the electronic ignition.
-
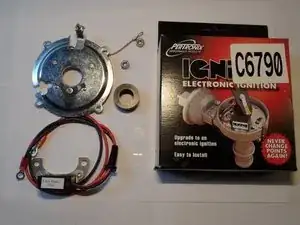
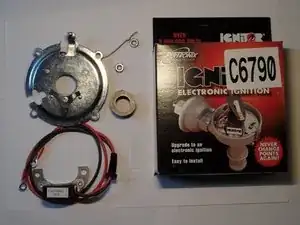
Check that all the parts are included as pictured. (if you are using a different brand or model of electronic ignition, continue to step 2, however success cannot be guaranteed)
-
There are many variants of the Ignitor and most electronic ignitions, each designed for a different application. Make sure that the unit being installed is intend for the Corvair, otherwise, it likely will not work.
-
-
-
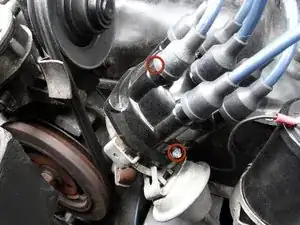
Remove the two screws holding down the distributor cap, by using a flat head screwdriver, and remove the cap, but do not disconnect the spark plug wires.
-
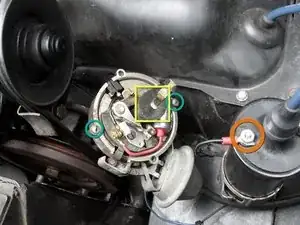
Disconnect the wire that goes from the coil to the distributor at the negative terminal of the coil.
-
Carefully pull the rotor off the distributor shaft.
-
Remove the two screws holding down the breaker plate and pull off the entire breaker plate/points assembly.
-
-
-
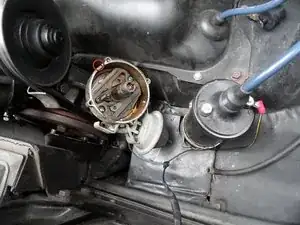
Your distributor should now look the same as the one pictured to the left.
-
Take note of the notch on the body of the distributor opposite the vacuum advance can: this is where the new leads exit.
-
Place the new breaker plate back on the distributor, so that the threads face up, and the advance pin slides into the vacuum advance shaft.
-
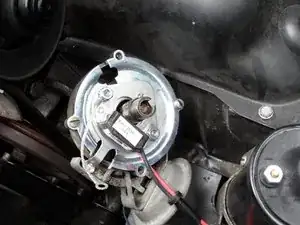
Place the ignition module on the threaded studs as shown.
-
Set one end of the ground strap on the stud nearest to the notch and loosely put on the two locking nuts.
-
-
-
Align the breaker plate with the distributor body and screw it into place.
-
Attach the other side of the grounding strap to the breaker plate hold-down screw as shown.
-
Slide the magnetic sleeve onto the distributor shaft. Make sure that it is pressed firmly in place.
-
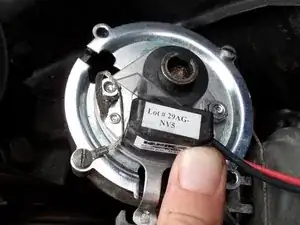
Using the provided plastic feeler gauge, or a 0.030" feeler gauge, set the gap between the ignition unit and the magnetic sleeve.
-
While holding the ignition unit in place tighten the two locking nuts.
-
-
-
Route the new ignition module wires along the inside of the distributor, to the notch on the body.
-
Firmly press the new insulating seal in as show.
-
Slide the rotor back onto the distributor shaft making sure that the notch lines up an it presses all the way down.
-
Place the distributor cap back on top of the distributor in the same orientation it was removed, this is the only way it will properly fit.
-
Insert and tighten both distributor hold down screws.
-
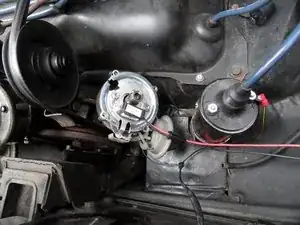
Attach the black wire from the new ignition unit to the negative terminal on the coil, and the red wire to the positive terminal on the coil, but do not remove other wires attached to the coil.
-
It is important to ensure that the new ignition unit wires are secure and will not come in contact with any of the pulleys or the fan belt while driving.
-
Congratulations! You are almost done! Now follow the guide to set your timing here.
