Introduction
The screen is one of the most important parts of the device, and breaking it may mean the end of its use. Due to the device's age, finding a new screen may be difficult, but if found, replacing it for the old one is straightforward.
Tools
-
-
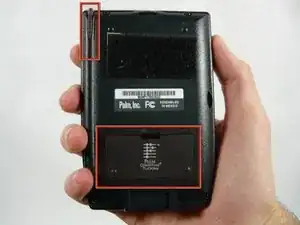
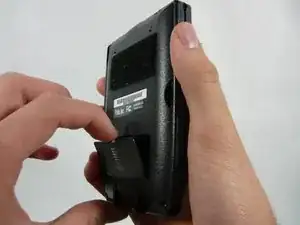
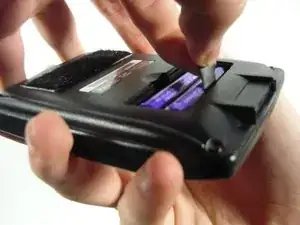
Now remove the two batteries by pulling on the cloth black tab.
-
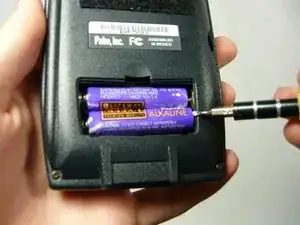
If this tab is not visible, use the flat head screwdriver and gently pry out the batteries by pushing on the positive end (opposite the spring).
-
-
-
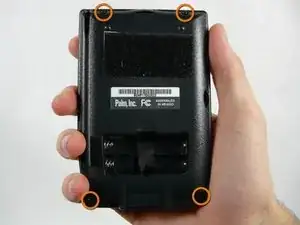
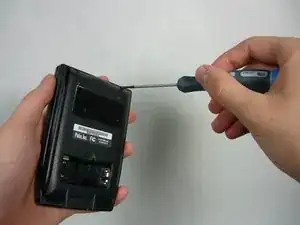
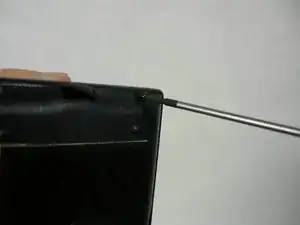
Using a Philips #0 or #00 screwdriver, locate and unscrew the four screws holding the back cover on the device.
-
-
-
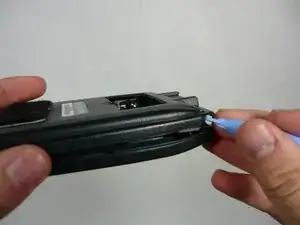
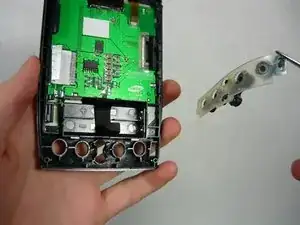
Take the plastic opening tool and insert into the seam between the two covers and pop off the cover then set it aside.
-
-
-
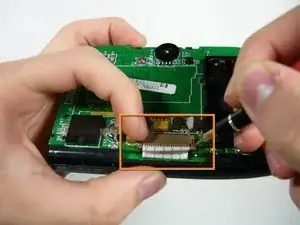
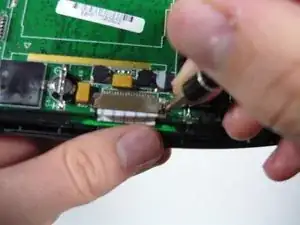
Locate the brown serial connector on the left side of the device. Using the flat head screw driver, push the little tabs (one on each side) out towards you as pictured.
-
They should extend about 1/16 of an inch (1.5 mm).
-
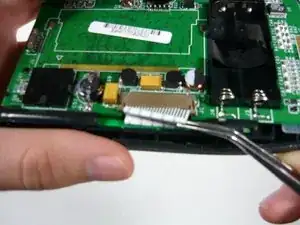
Now take the screwdriver/tweezers and gently pry out the serial tab as shown .
-
-
-
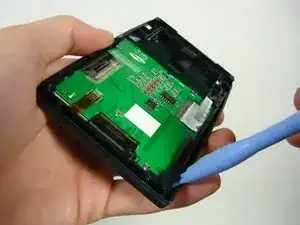
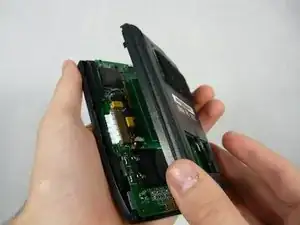
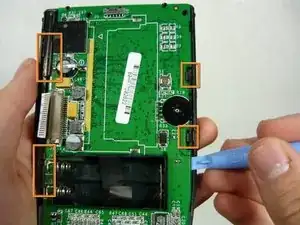
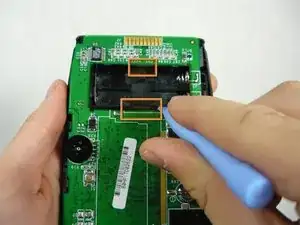
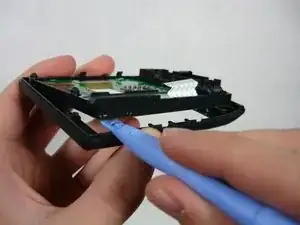
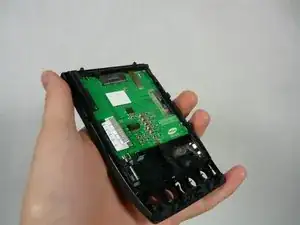
Take the plastic opening tool and gently pry the circuit board out of the plastic tabs around the perimeter located as shown.
-
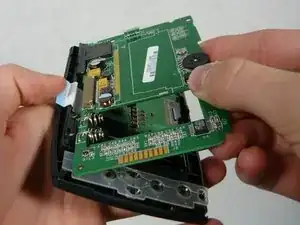
You must also pry the circuit board away from the battery case (picture 2).
-
Now gently lift up the circuit board from the right side and set it on the cloth.
-
-
-
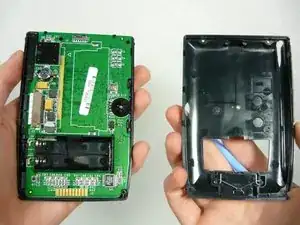
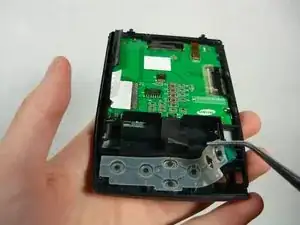
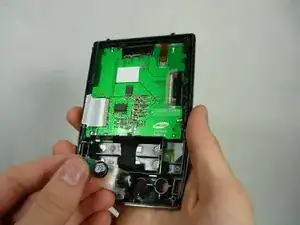
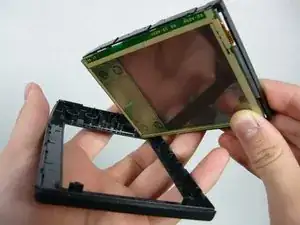
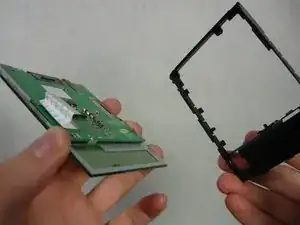
Use the ipod opening tool to pry the cover from the internal plastic frame; the internal frame and screen will come off at the same time.
-
Place the front cover aside.
-
-
-
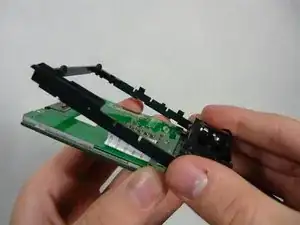
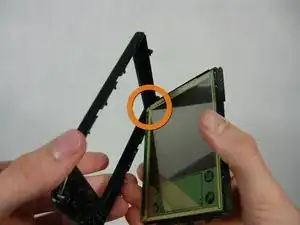
For reassembly: Take the frame/screen assembly and line up the top left corner of it to the corresponding corner of the front cover. (two views shown)
-
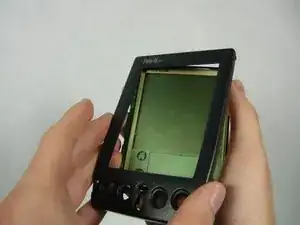
Now press the two parts together. Once together keep the screen facing down because it may fall out again.
-
To reassemble your device, follow these instructions in reverse order.
